


Lots of work to do so lets begin!
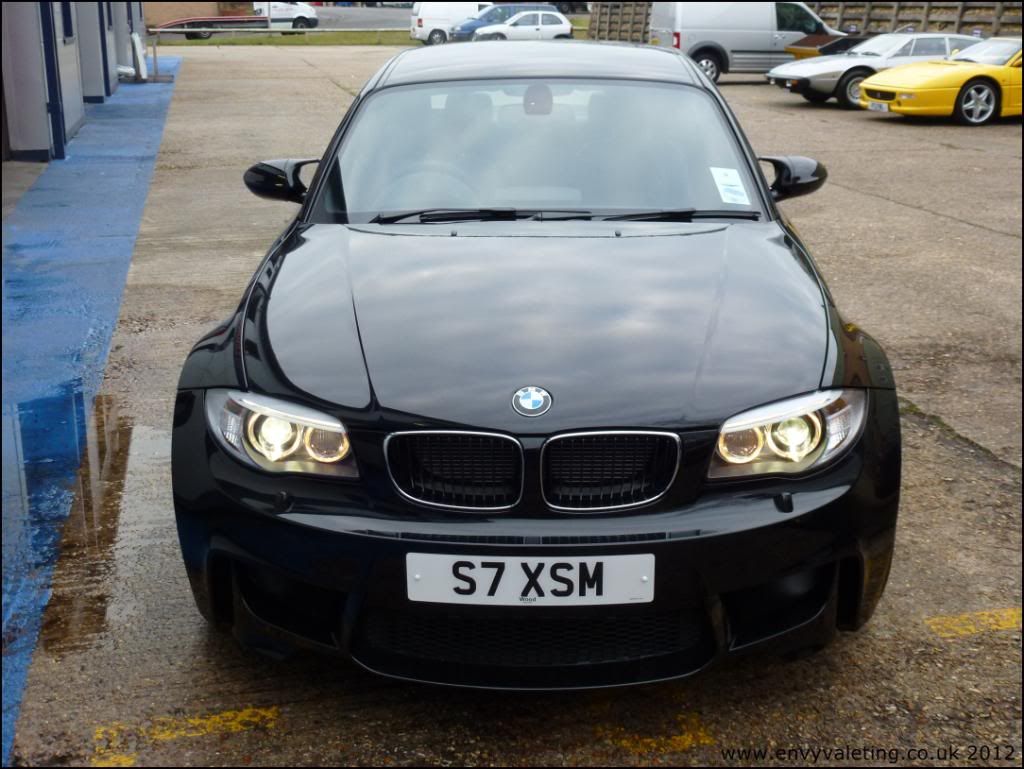
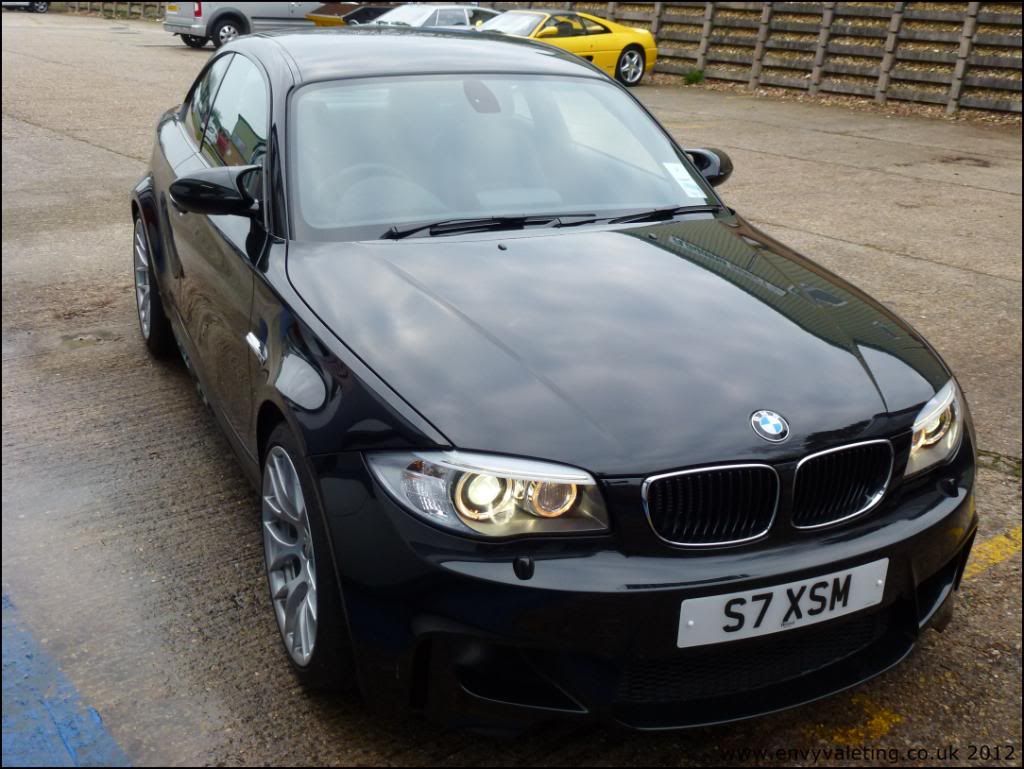
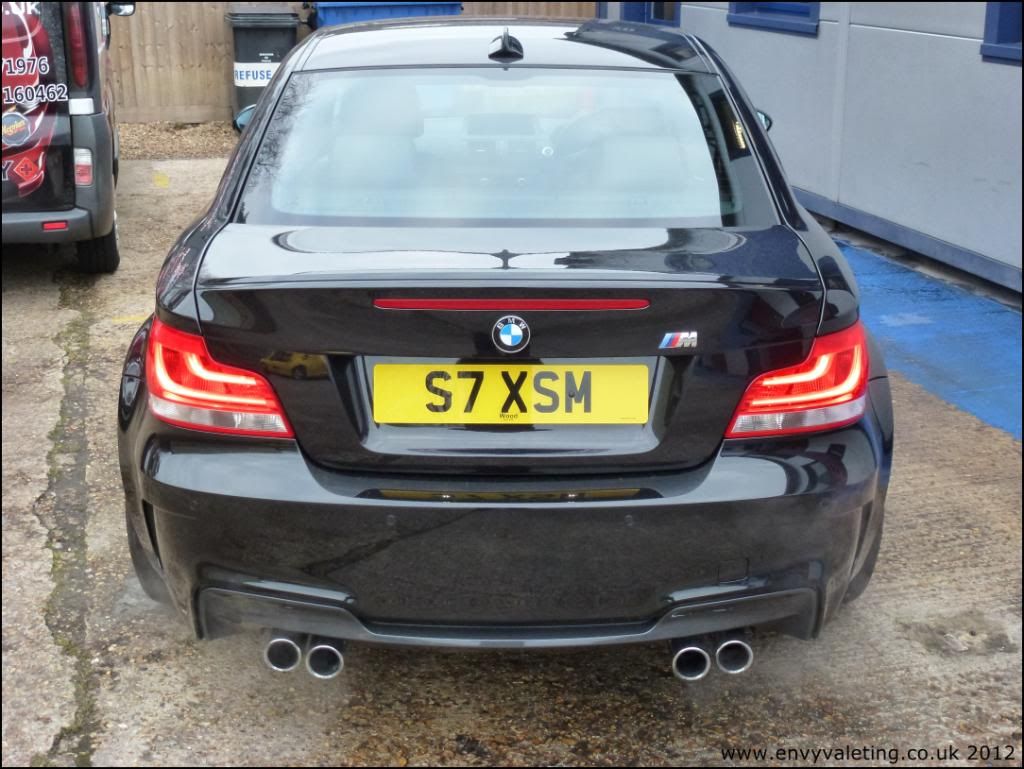
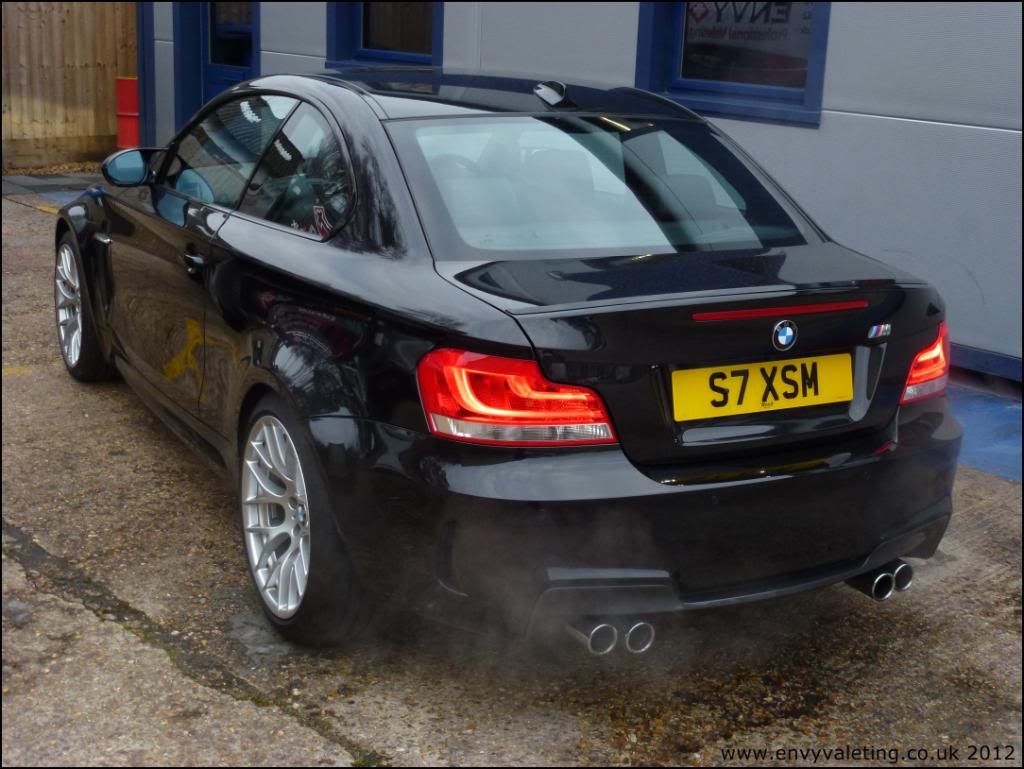
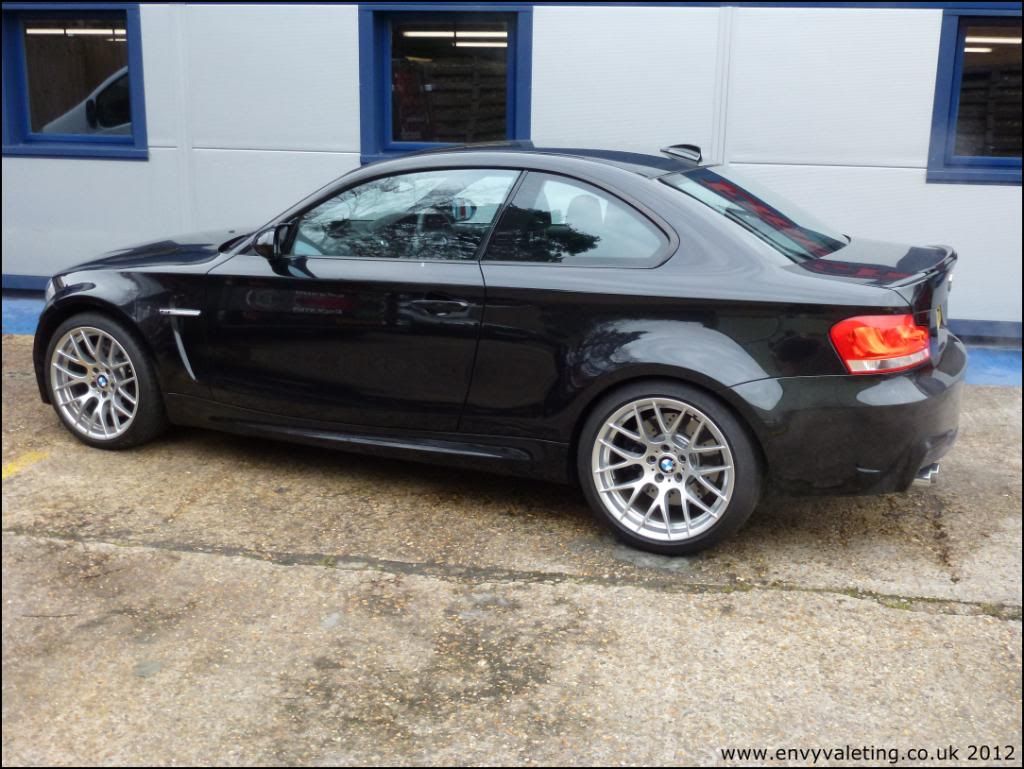
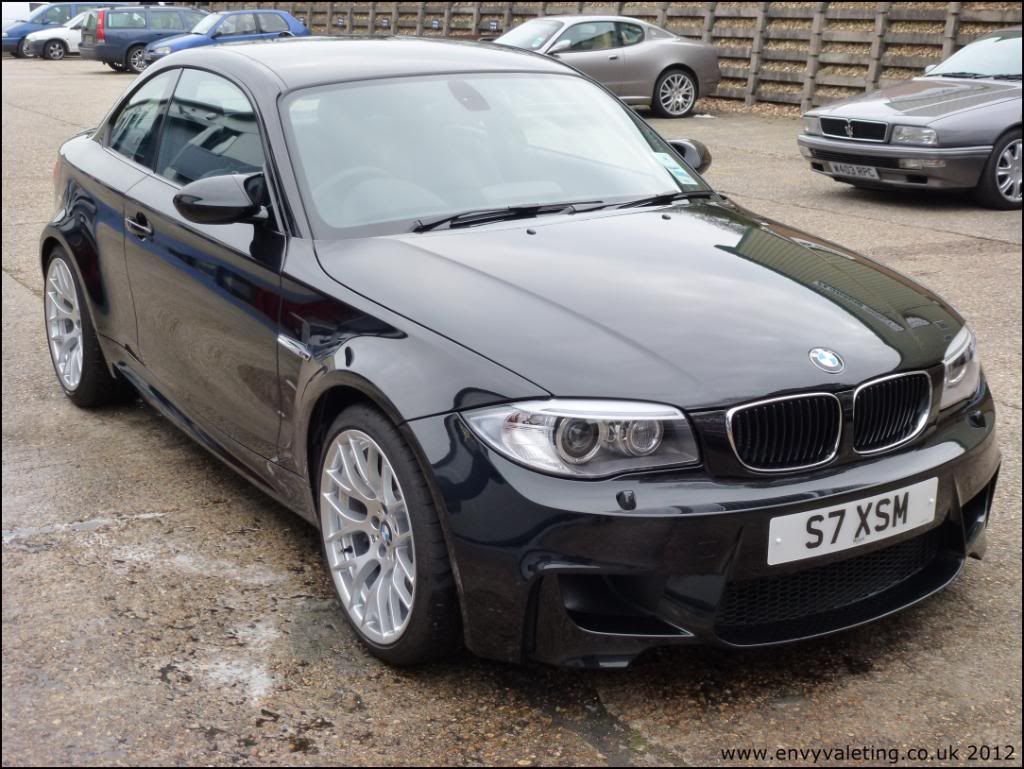
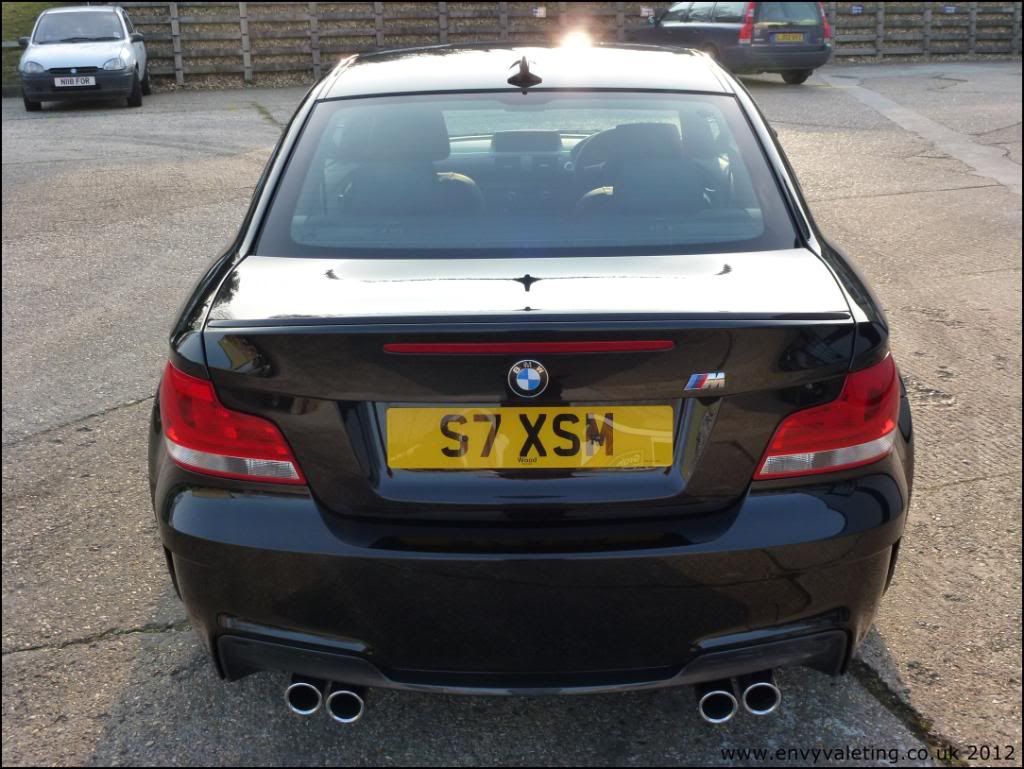
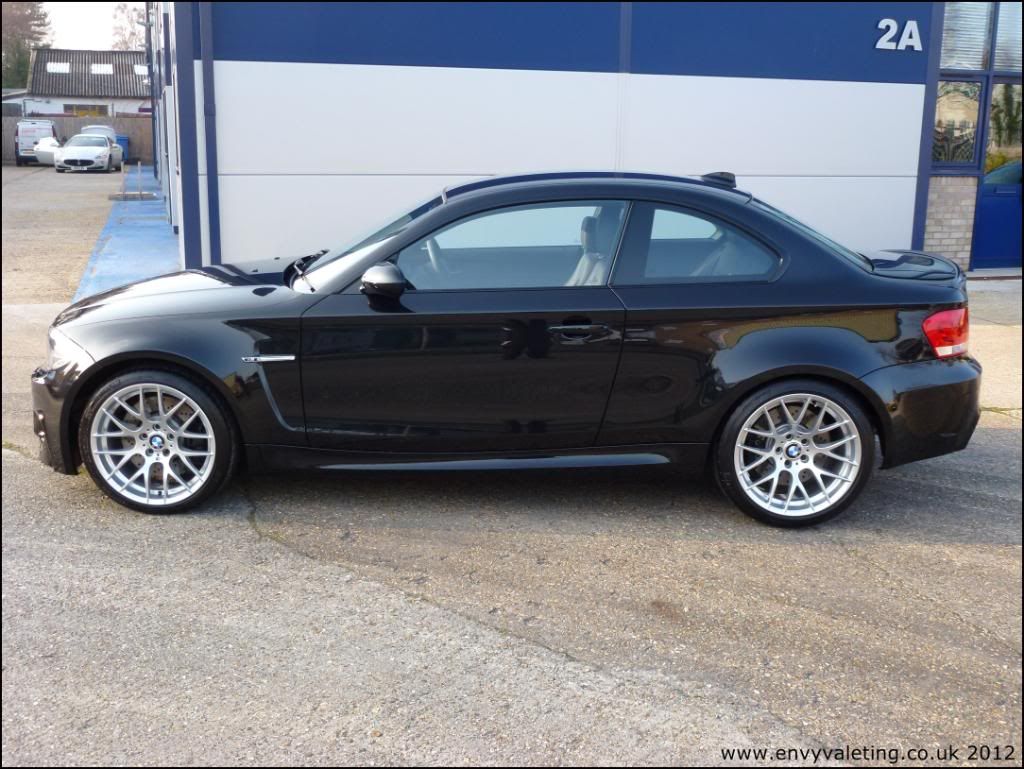
The gorgeous car before shots:
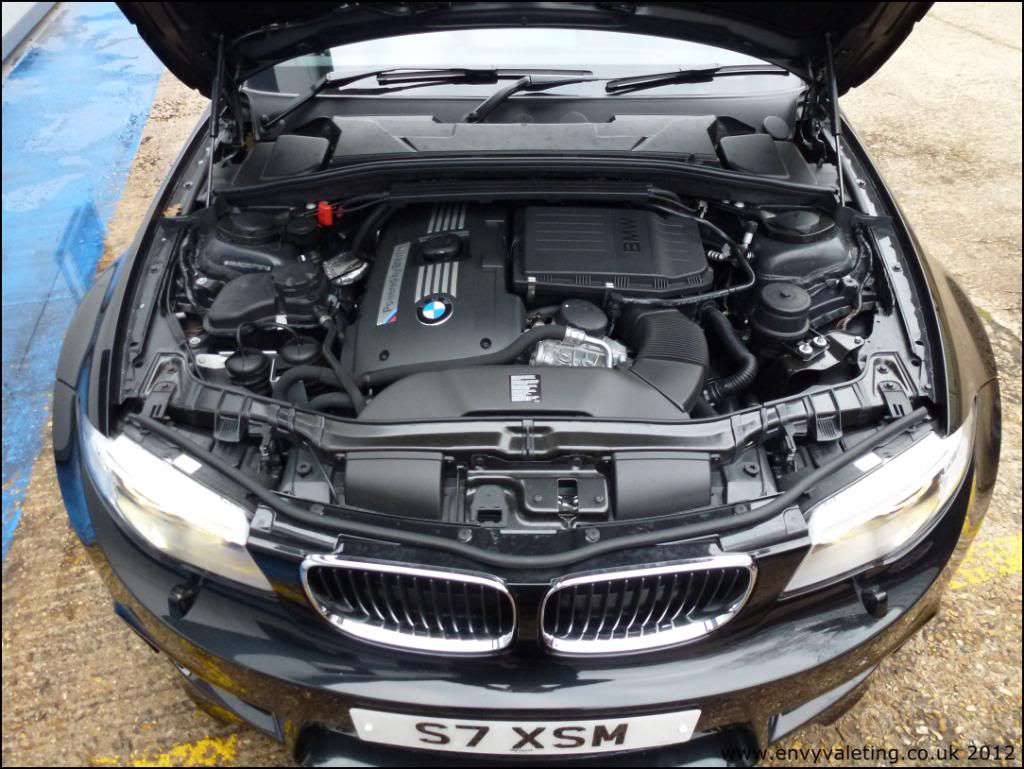
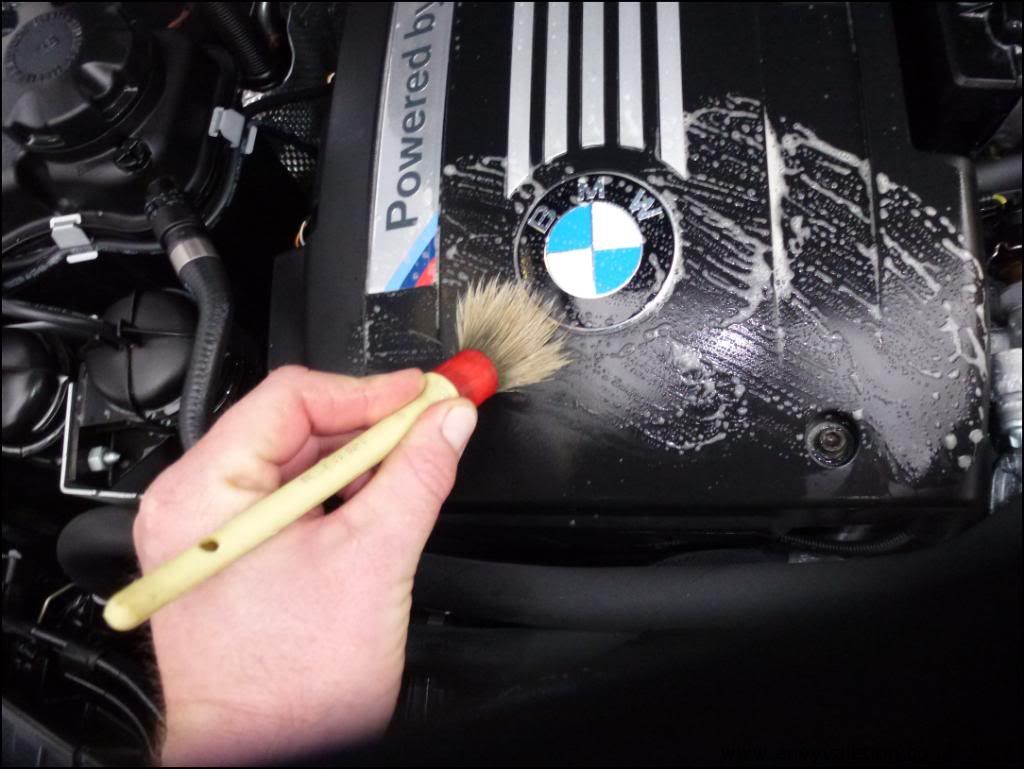
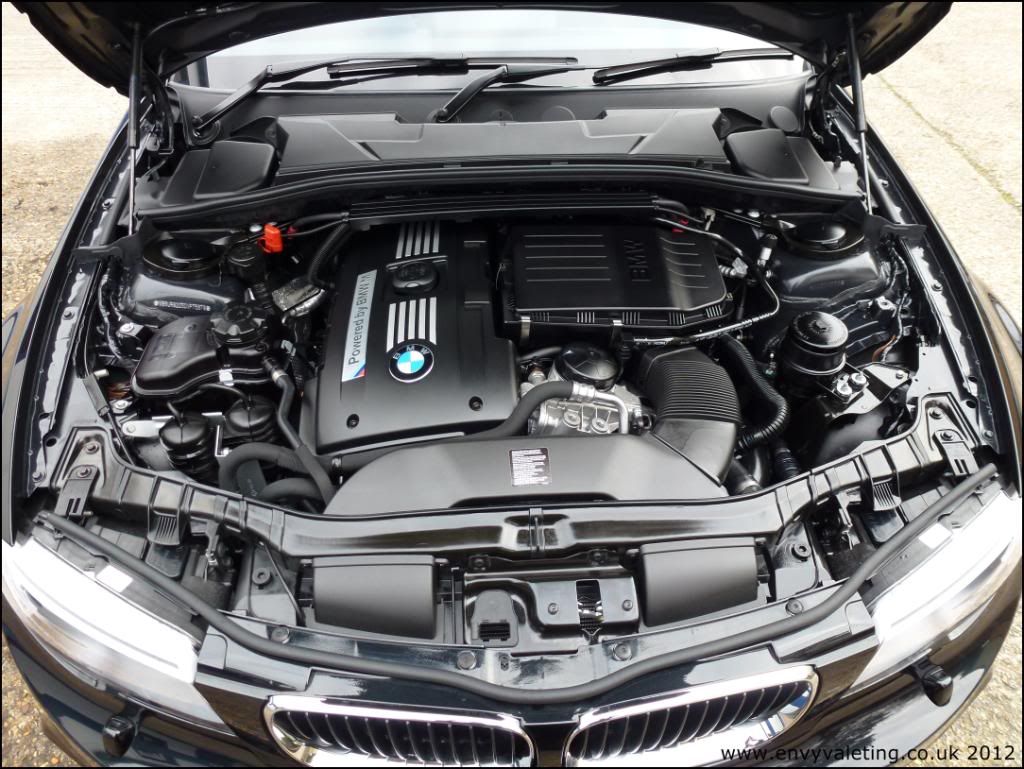
The engine was warmed up gently then sprayed with APC, allowed to do its thing then agitated with a brush, more sprayed on then rinsed and allowed to dry. Dressing applied after it was dry.
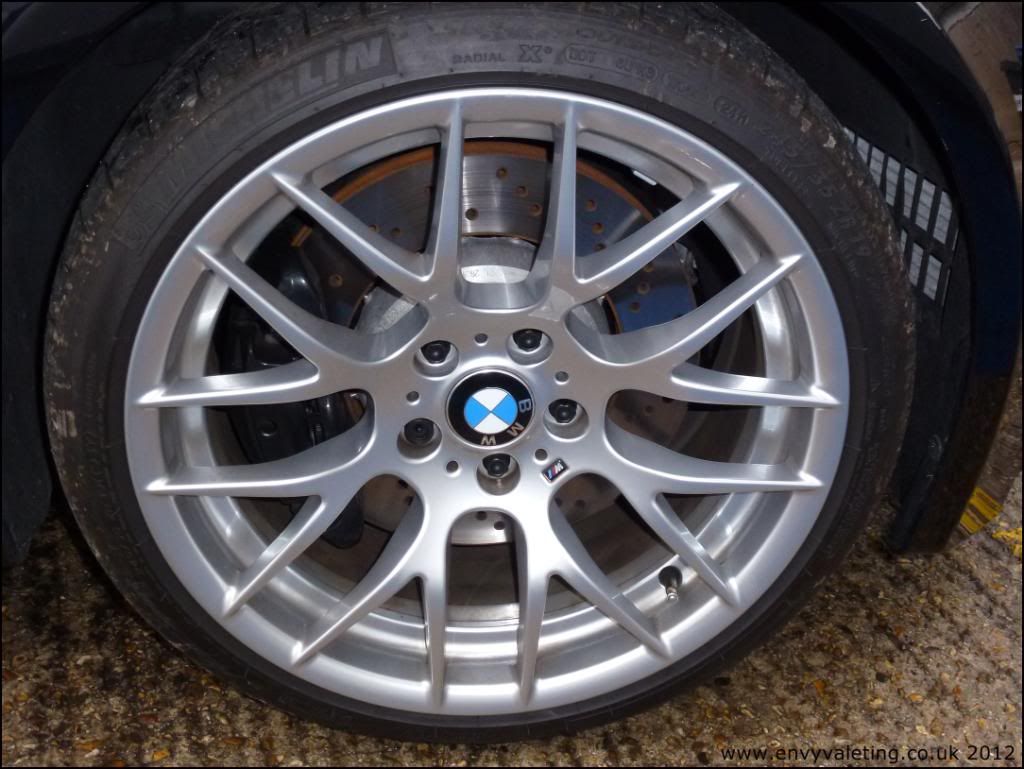
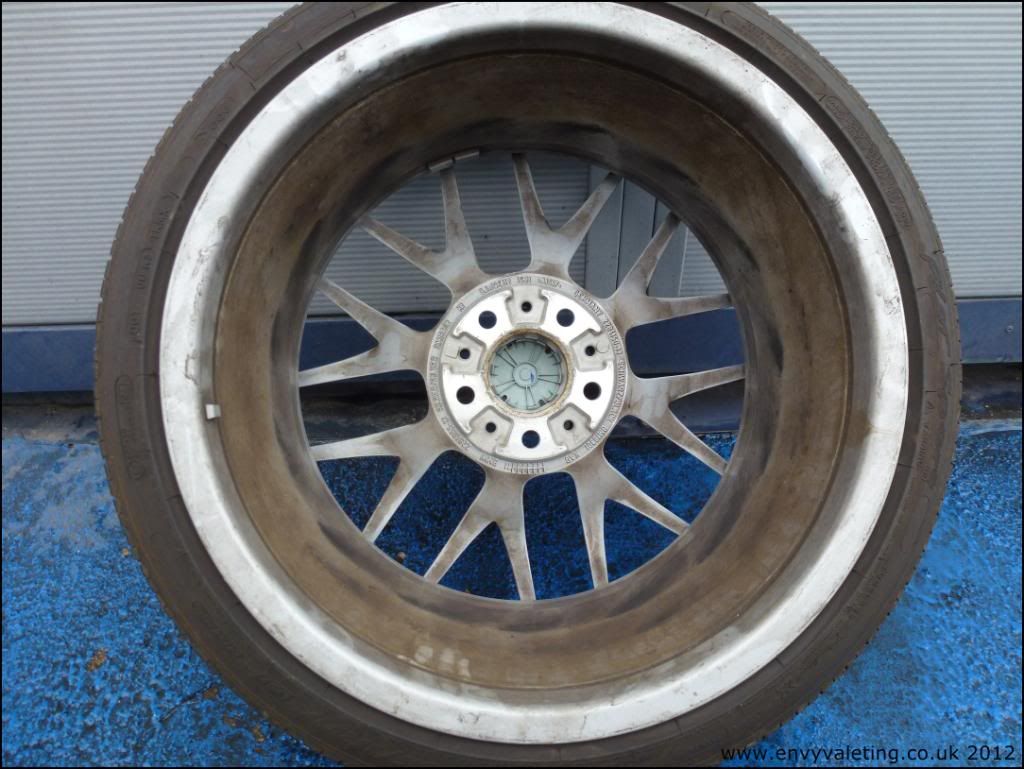
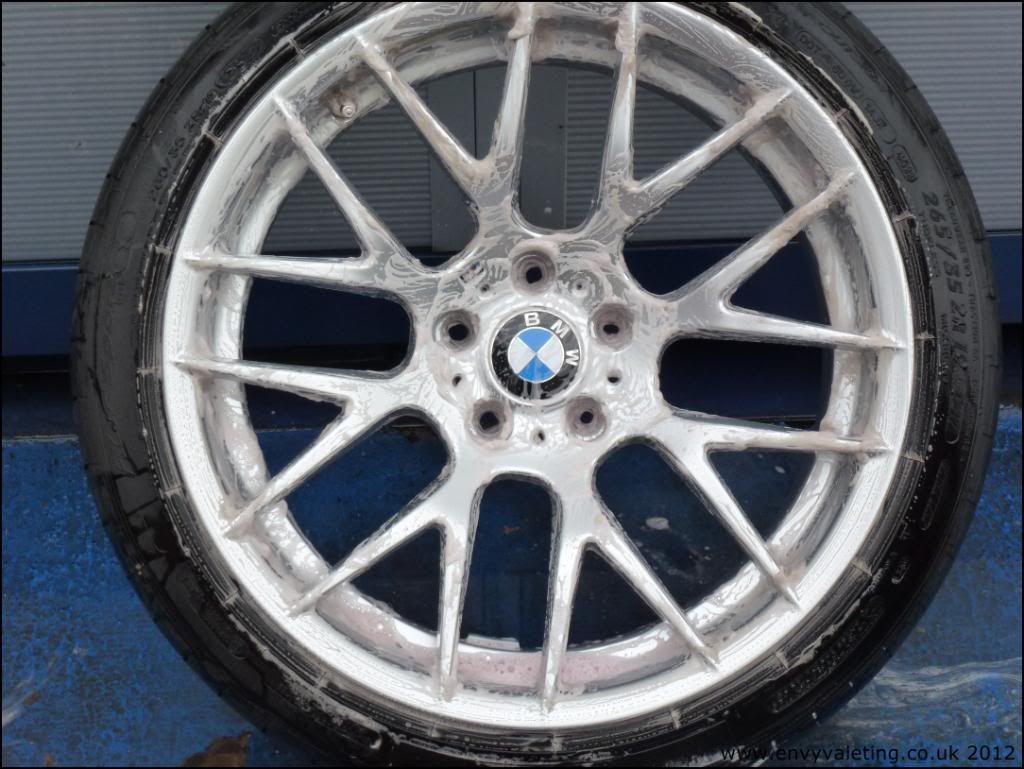
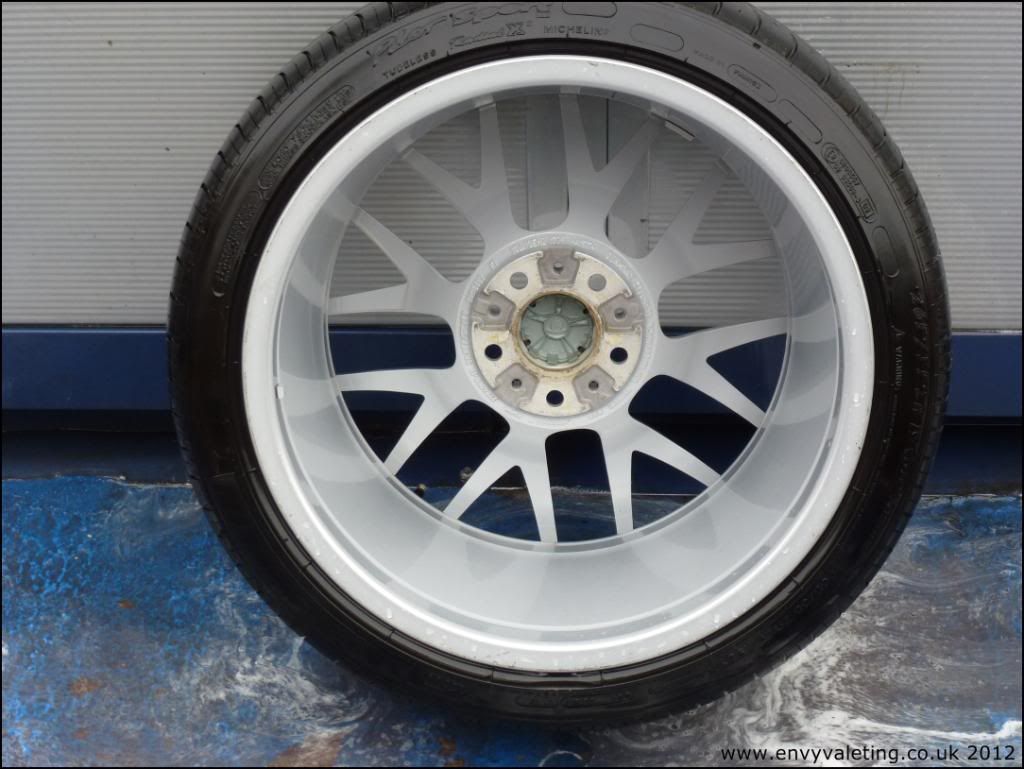
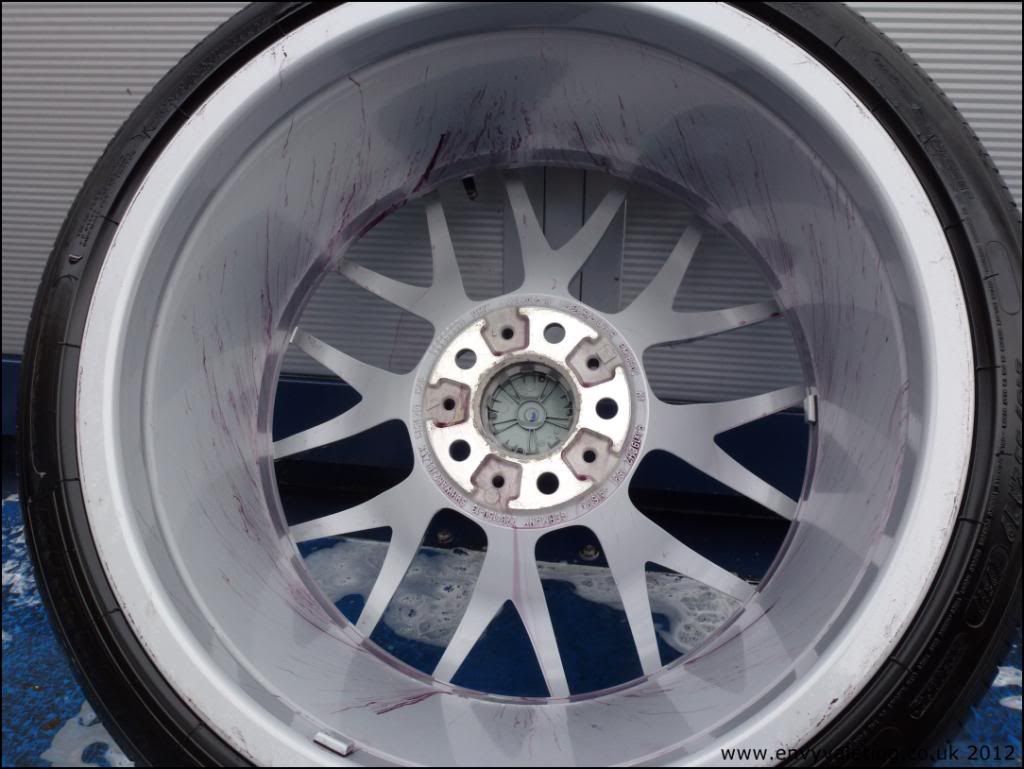
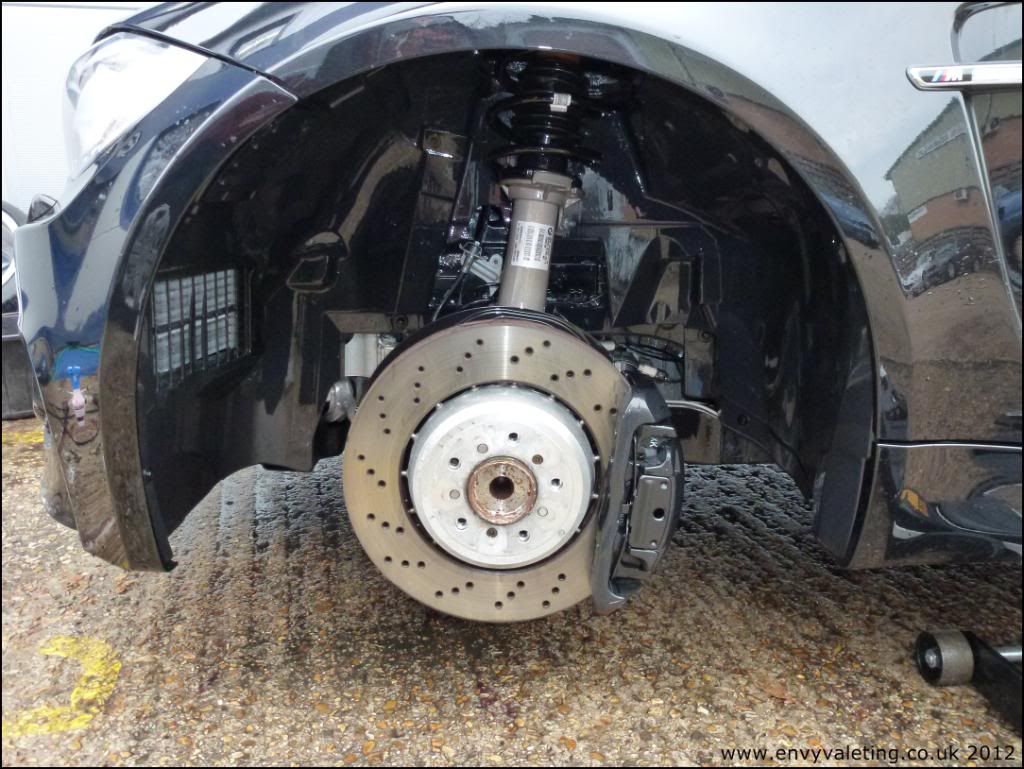
The wheels were removed one by one, sprayed with AS smart wheels, followed by Iron X. Work in progress shots.....
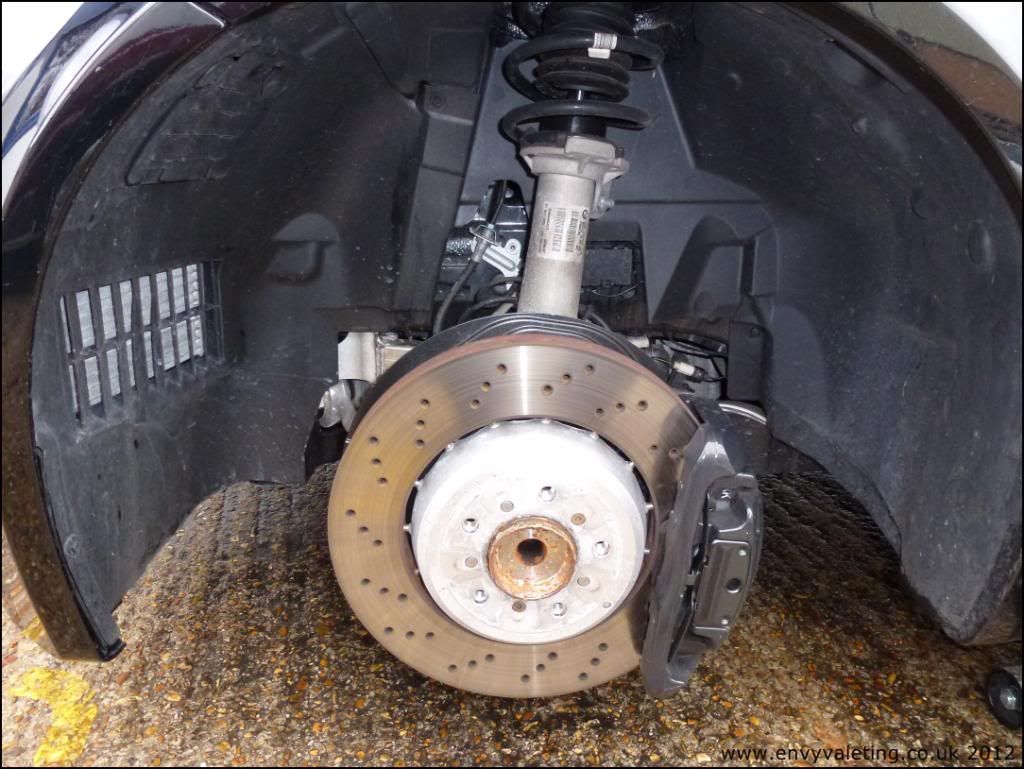
Exposed wheel arches doused with APC, and agitated with a Vikan multibrush whilst the wheels were being cleaned.
Dressing with Chemical Guys Bare Bones (lovely smell)
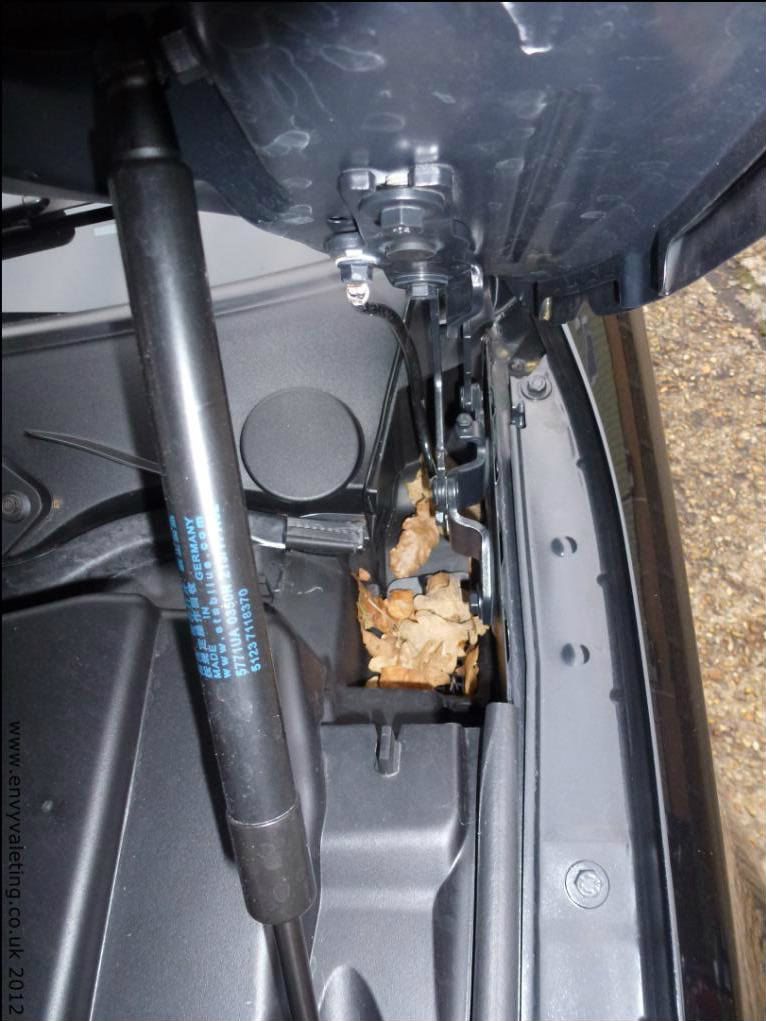
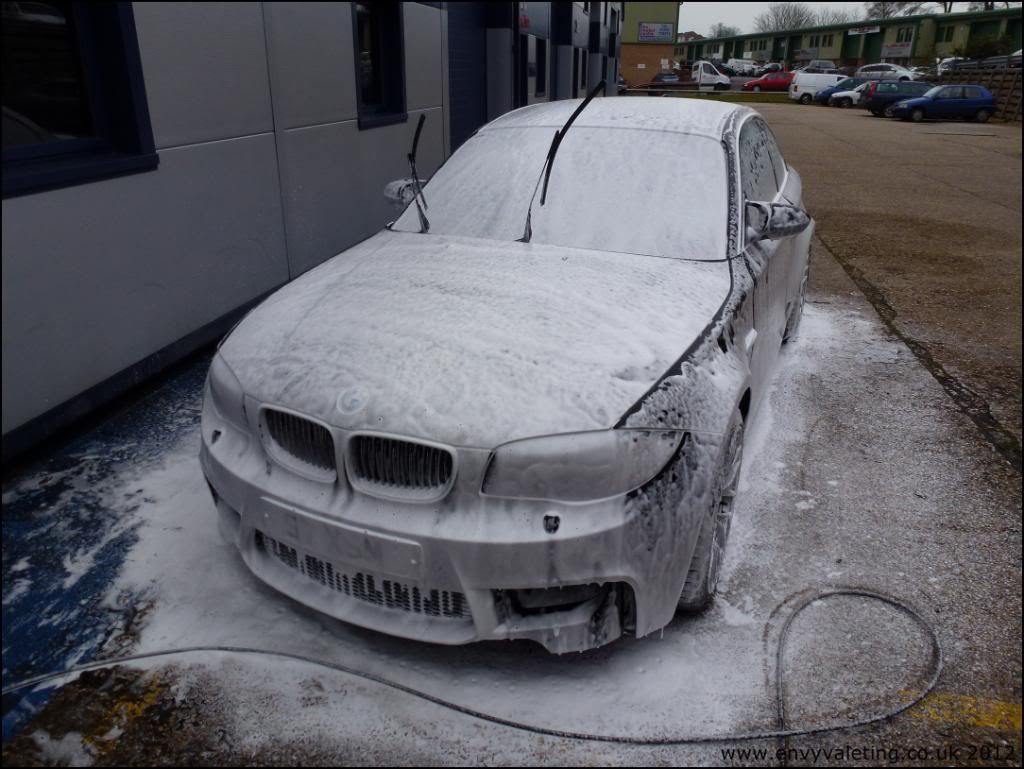
Next up the door shuts, fuel filler cap, boot area were pre-soaked with APC and then the car was snow foamed, allowed to dwell and rinsed off.
Then washed with the two bucket method, grit guards, Dodo Supernatural wash sponge and a trade shampoo. Dried off ready to clay.
Claying was with Dodo Gentle grey clay and Born slippy lube. This is the 1st car in a VERY long time where (although I did do the whole thing) it really didn't have much in the way of contamination at all. A lovely change.
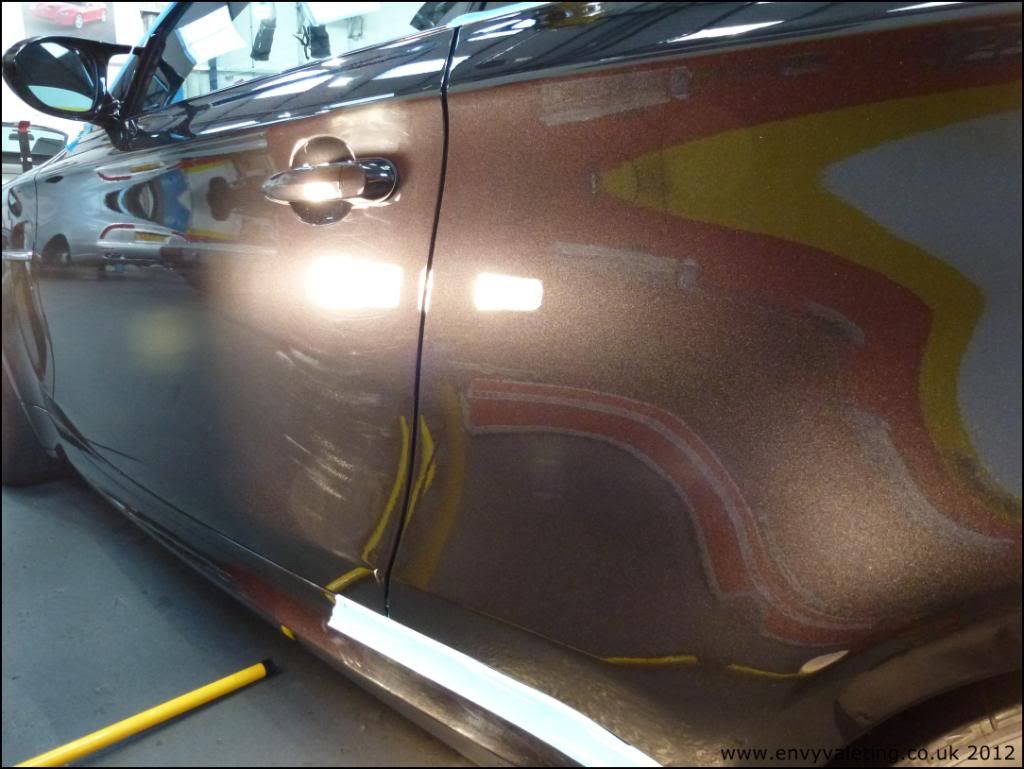
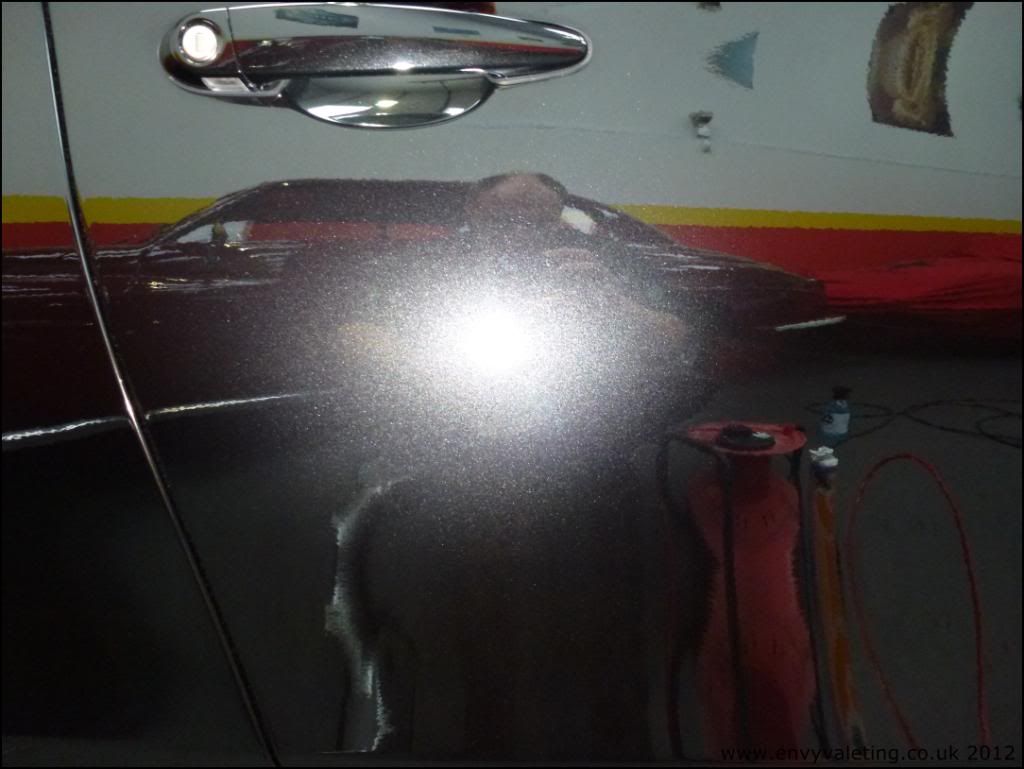
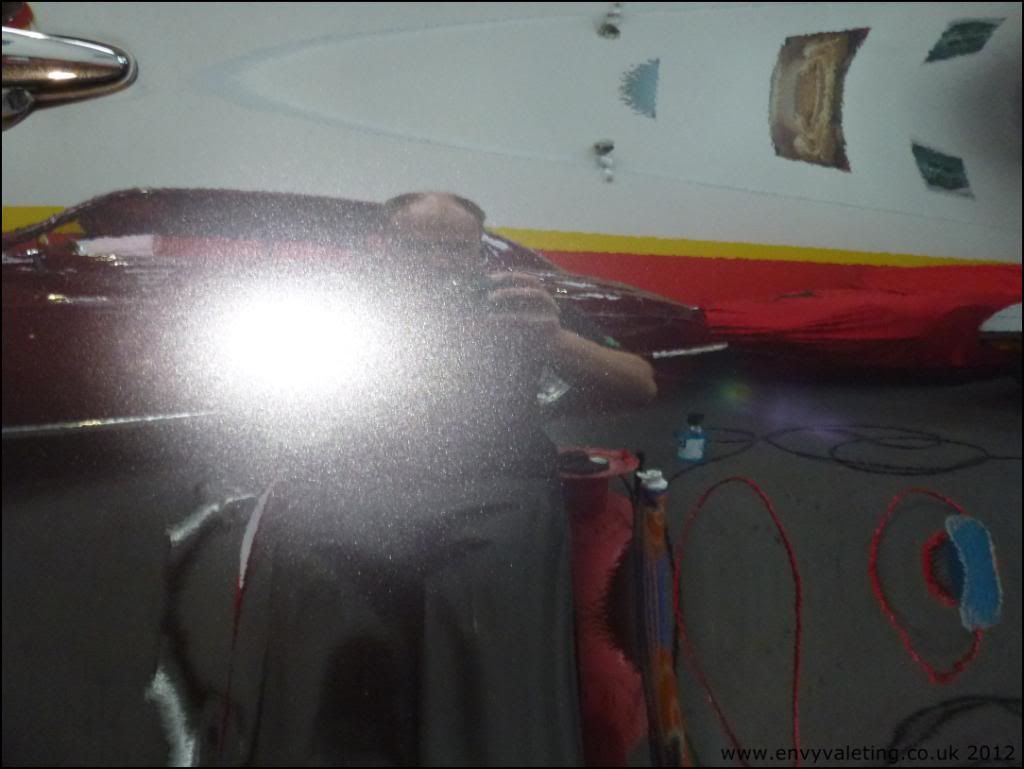
Moved indoors, time to get a look at the defects on the BMW.
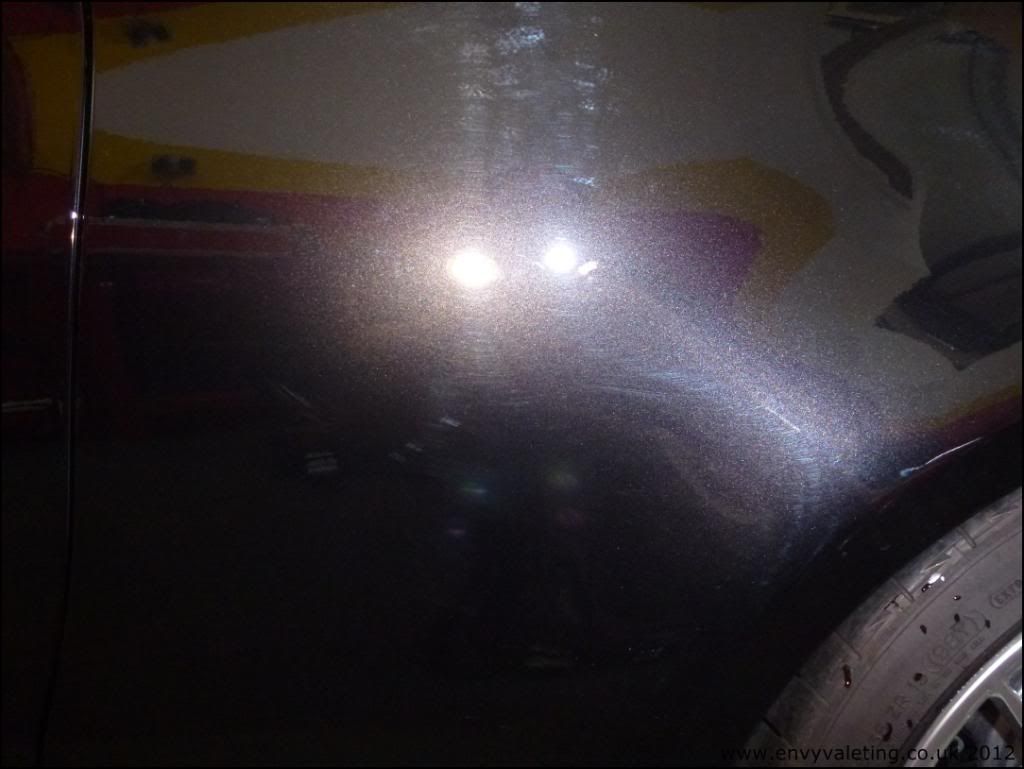
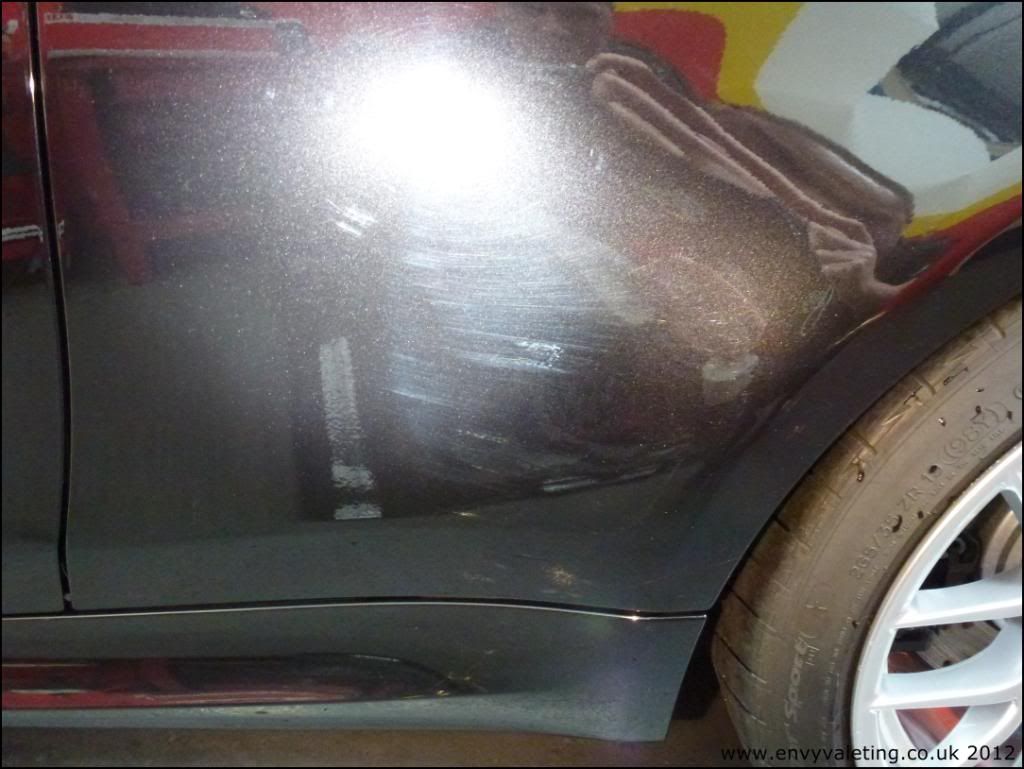
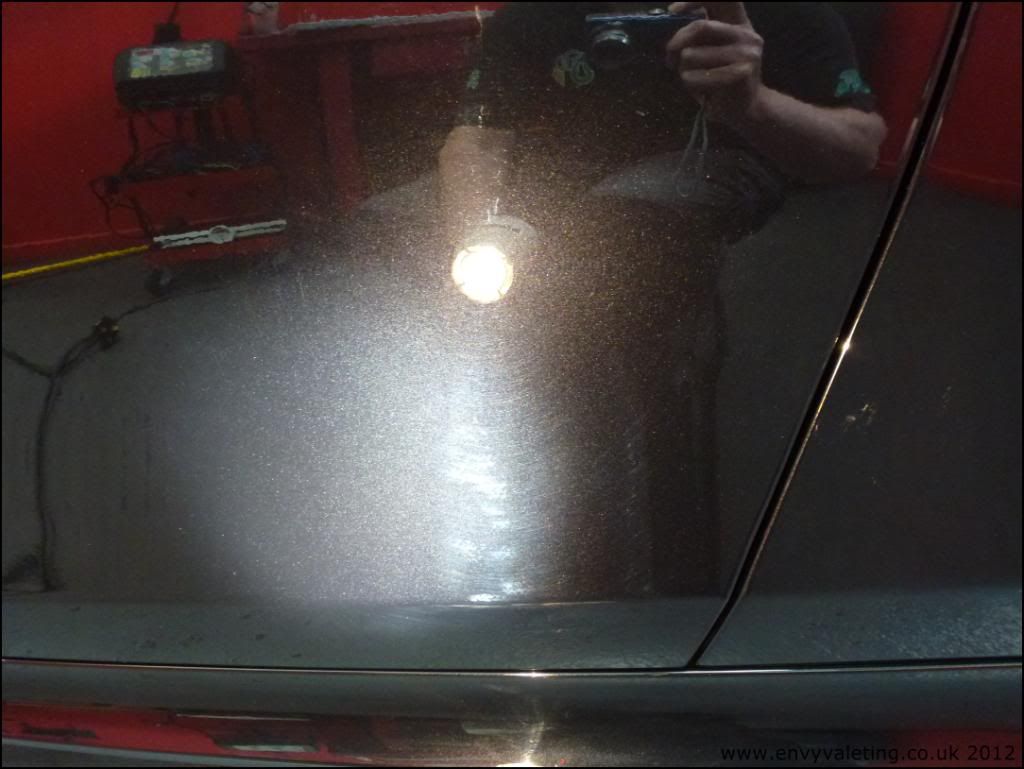
Paint thickness readings were taken over the whole car and were as expected. No highs, and no real lows either. Taped up as I went along..
Polishing began with Scholl S17+ and a yellow Meguiars polishing pad, both 7" and 4" for the nooks and crannies. Wiping down in between sets with Car-Pro Eraser and checking with the Sungun and Brinkman.
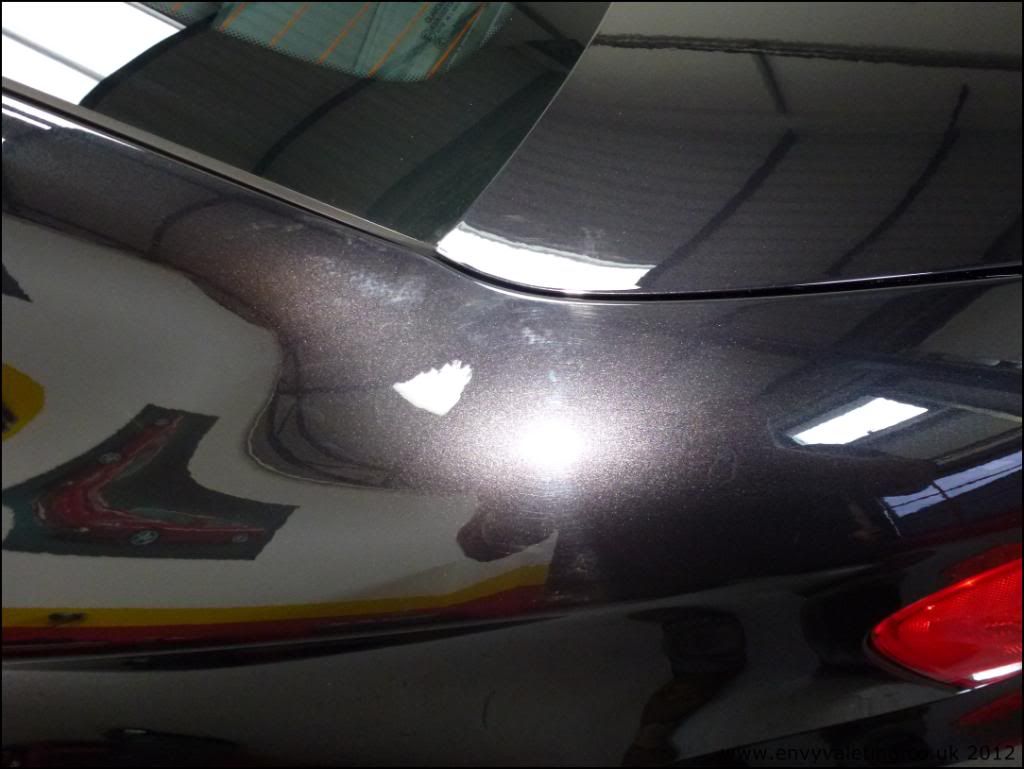
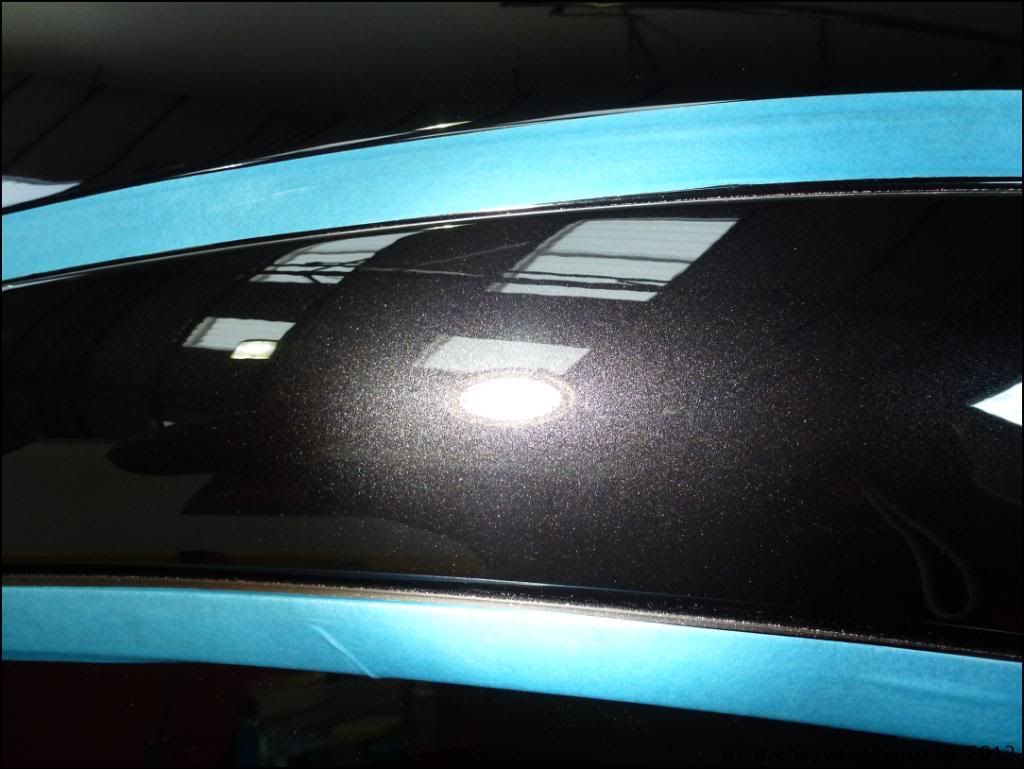
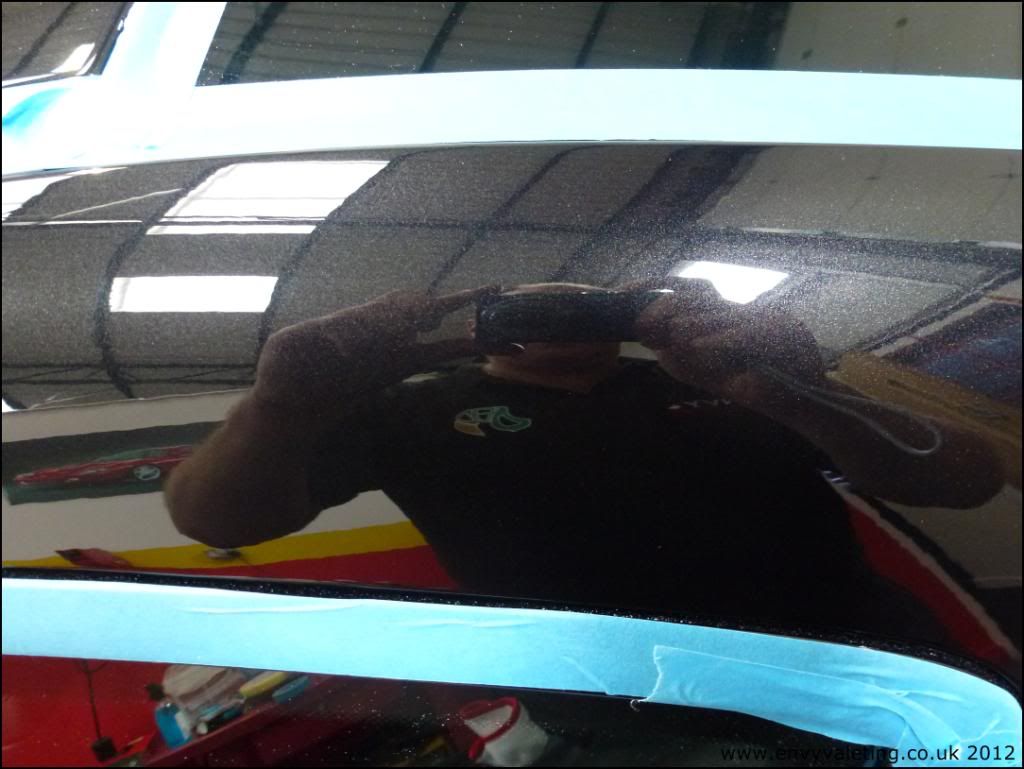
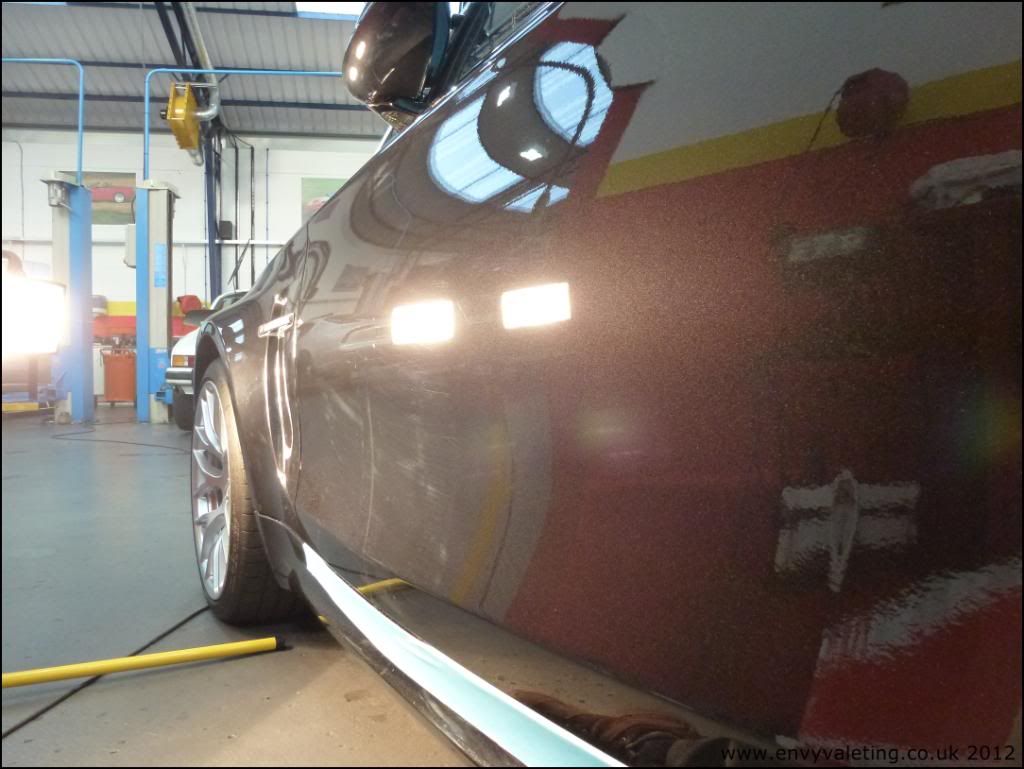
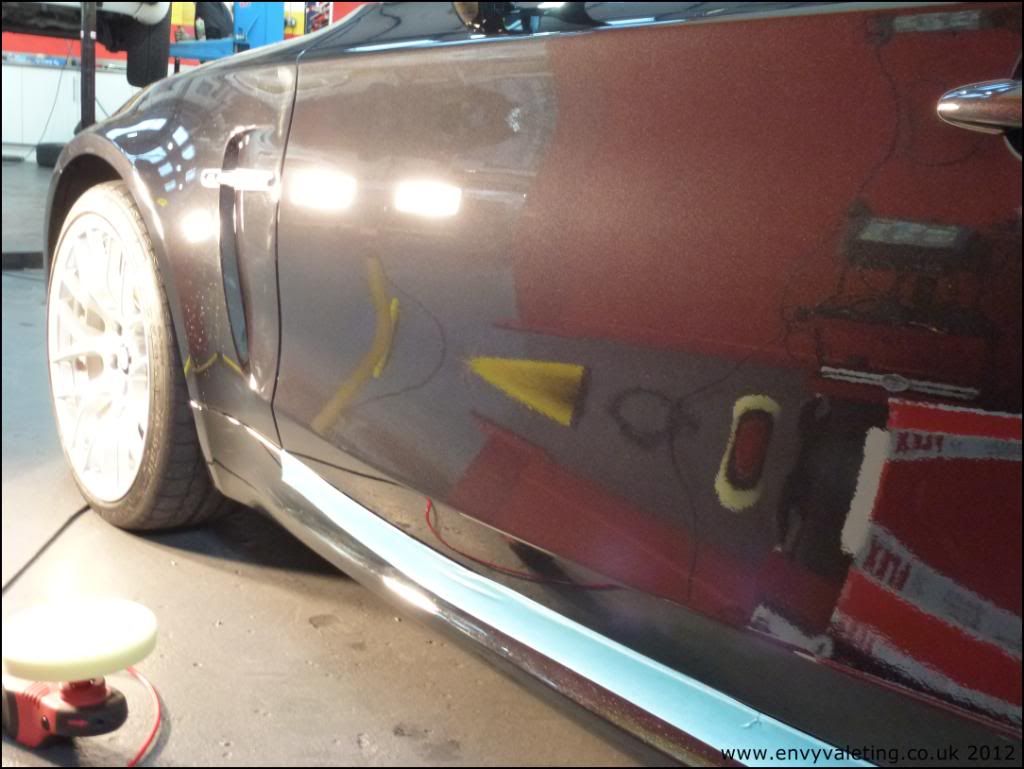
Some in progress pics (none refined as yet)
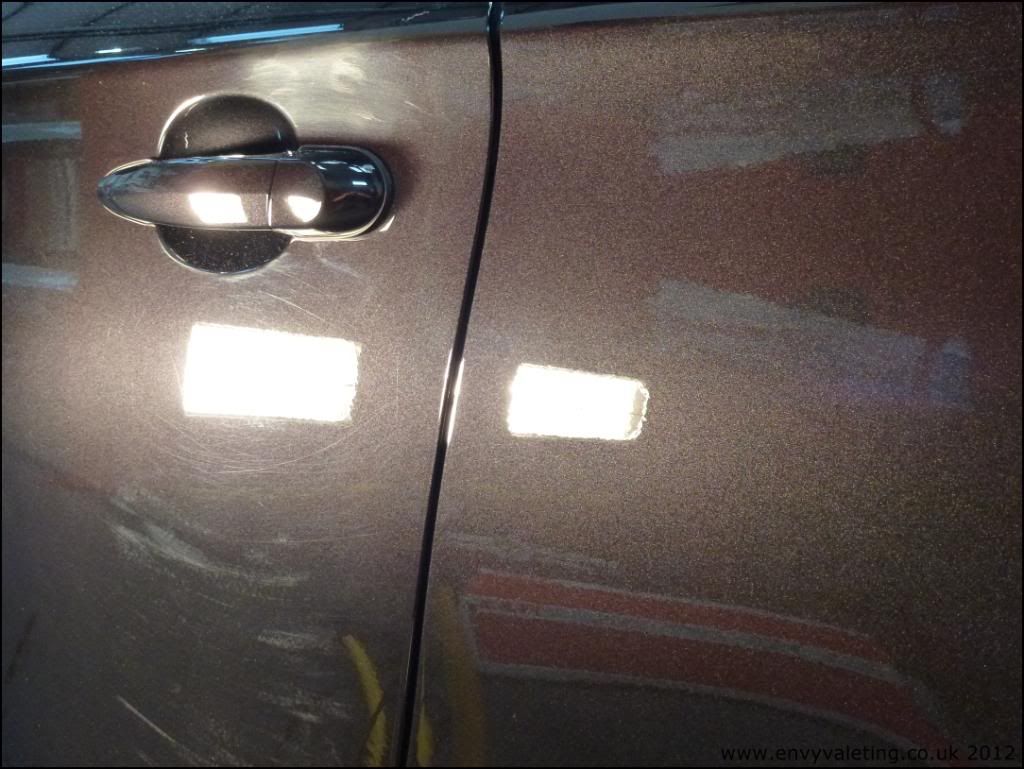
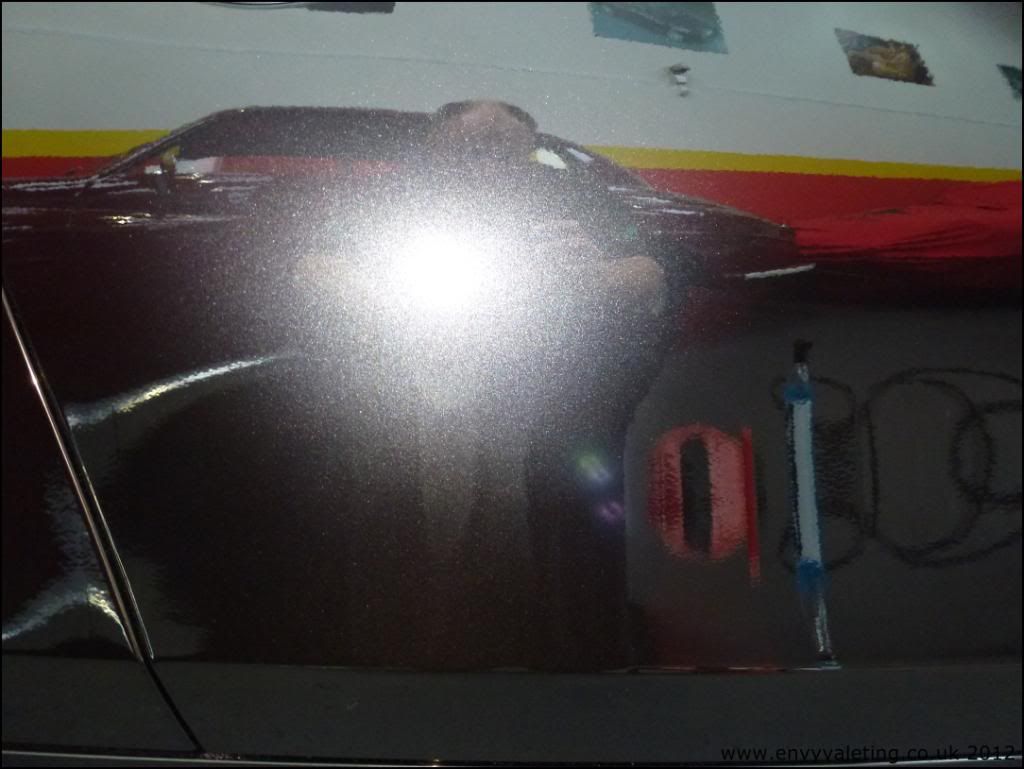
Some natural 50/50's
Day 1 ended here with me having done the roof, the entire passenger side and the boot lid.
Day 2 began with finishing all the other panels with the S17+ combo.
A typical shot of work in progress.

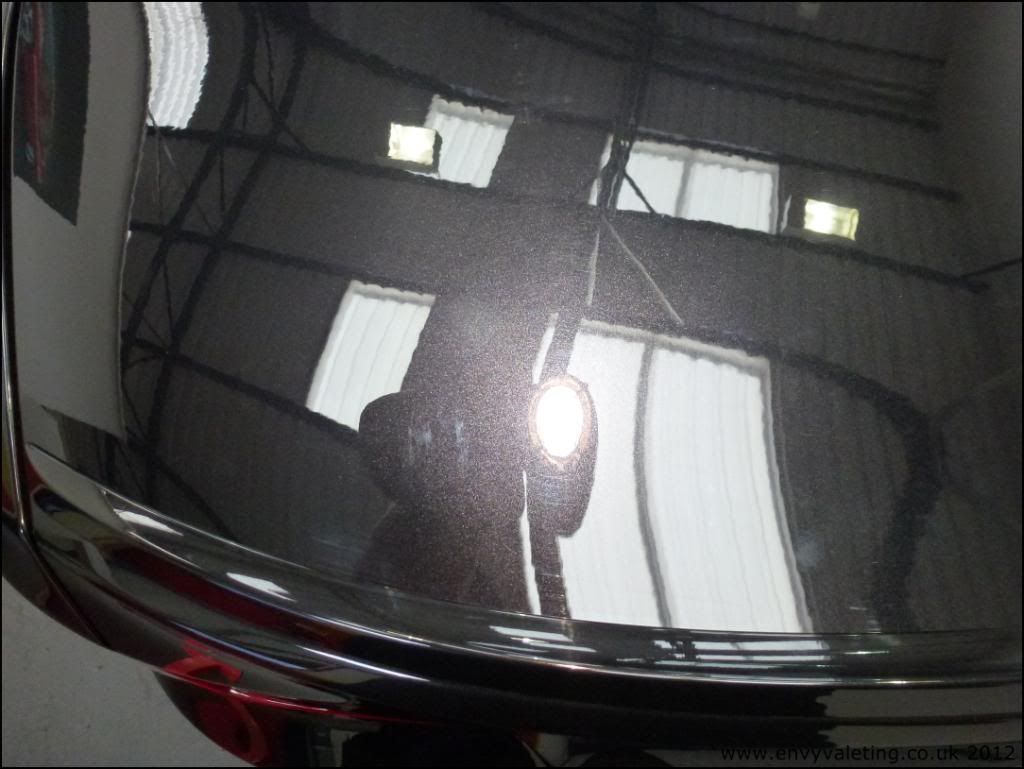
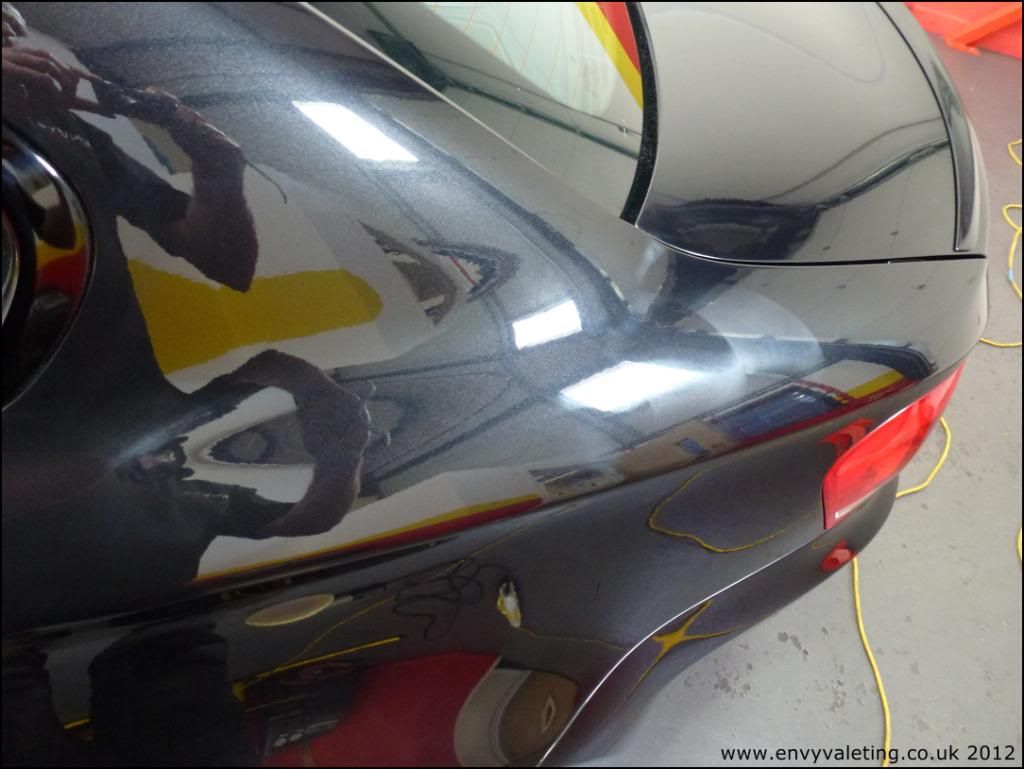
Once all that was out of the way I switched to a Blue 3M waffle pad, and a black Meguiars finishing pad and went round the whole car with Menzerna Final Finish (PO85 RE) to refine the polishing process, wiping down again with Eraser to ensure a true finish.
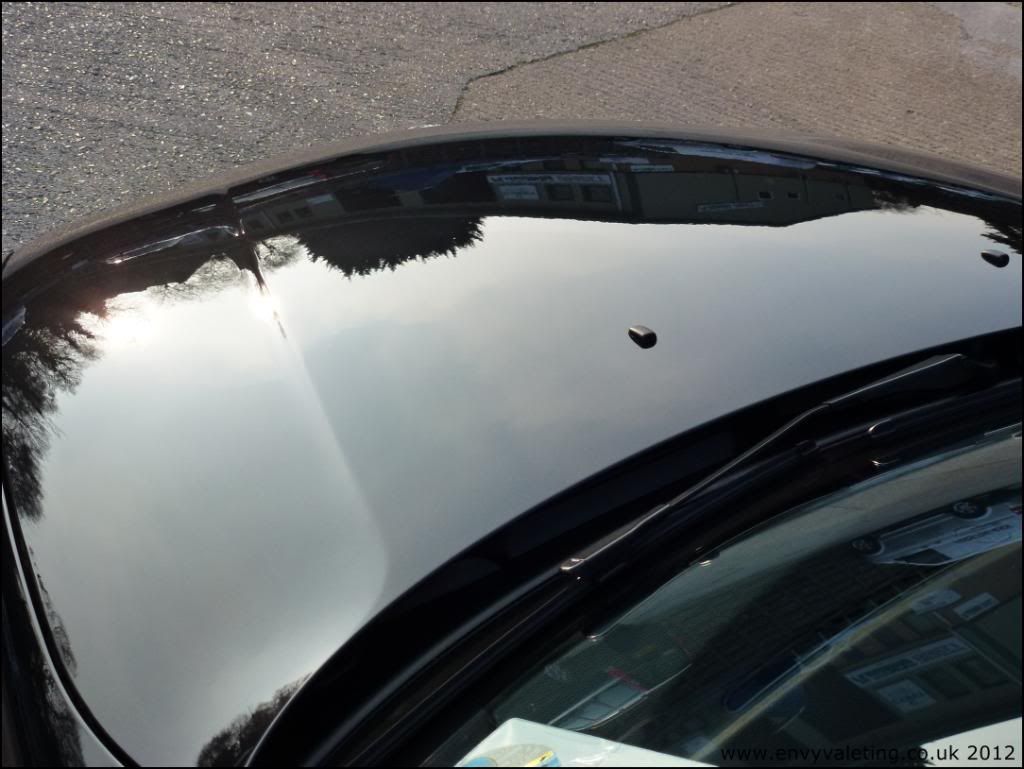
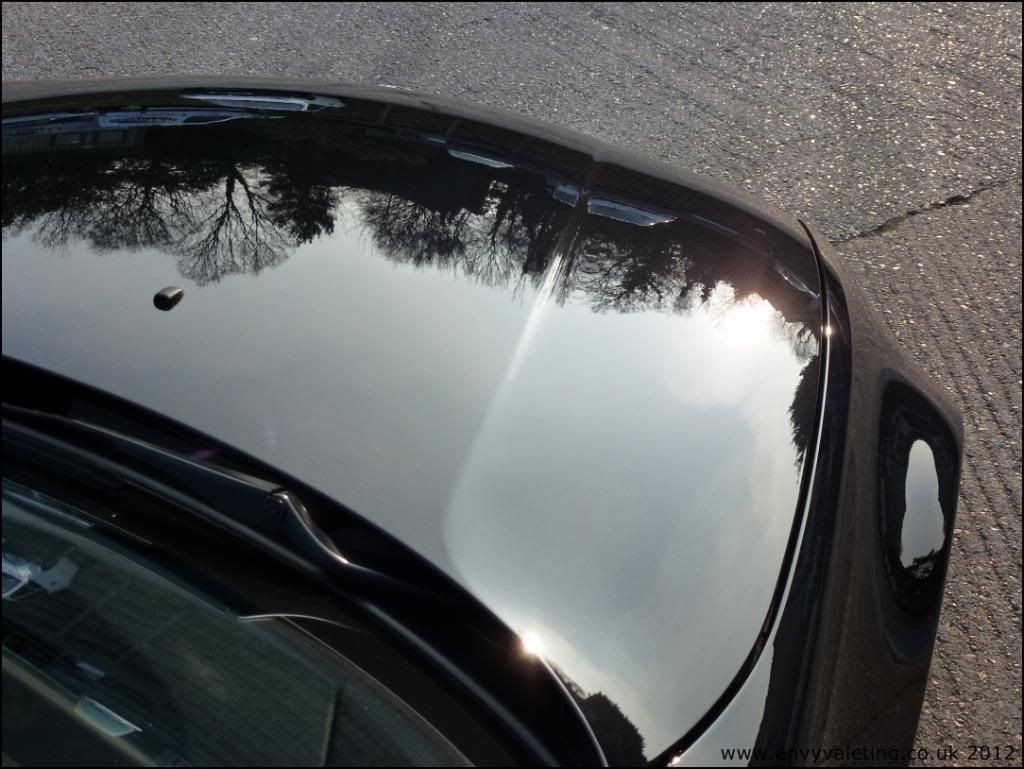
No wax yet, just been polished only!
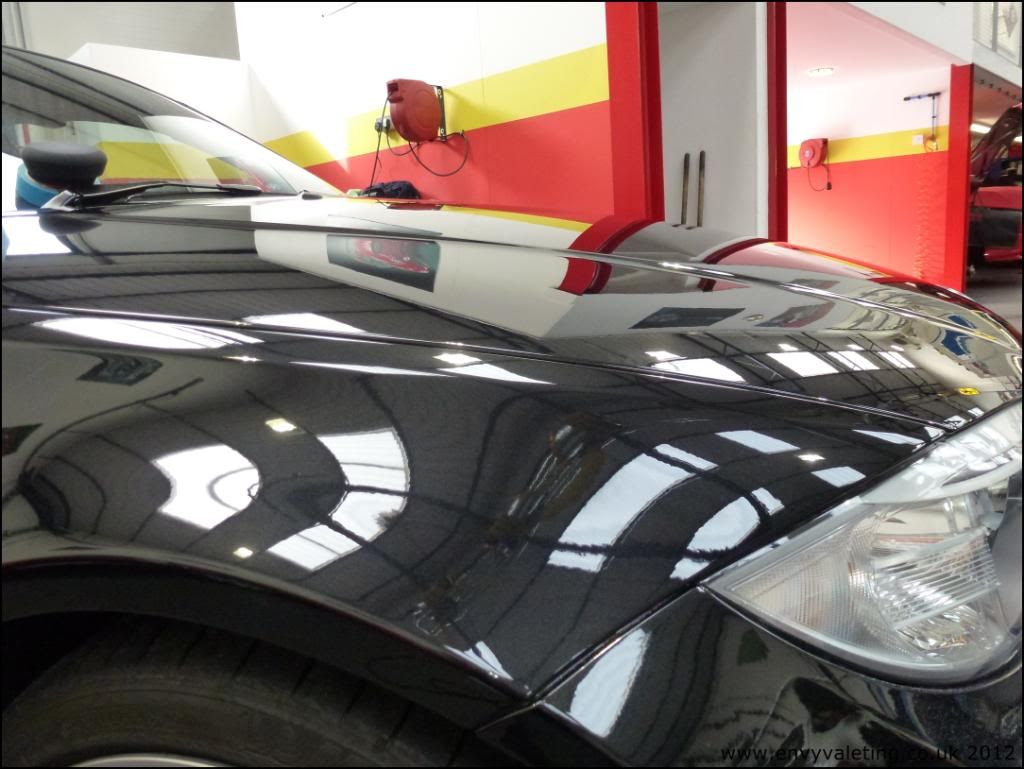
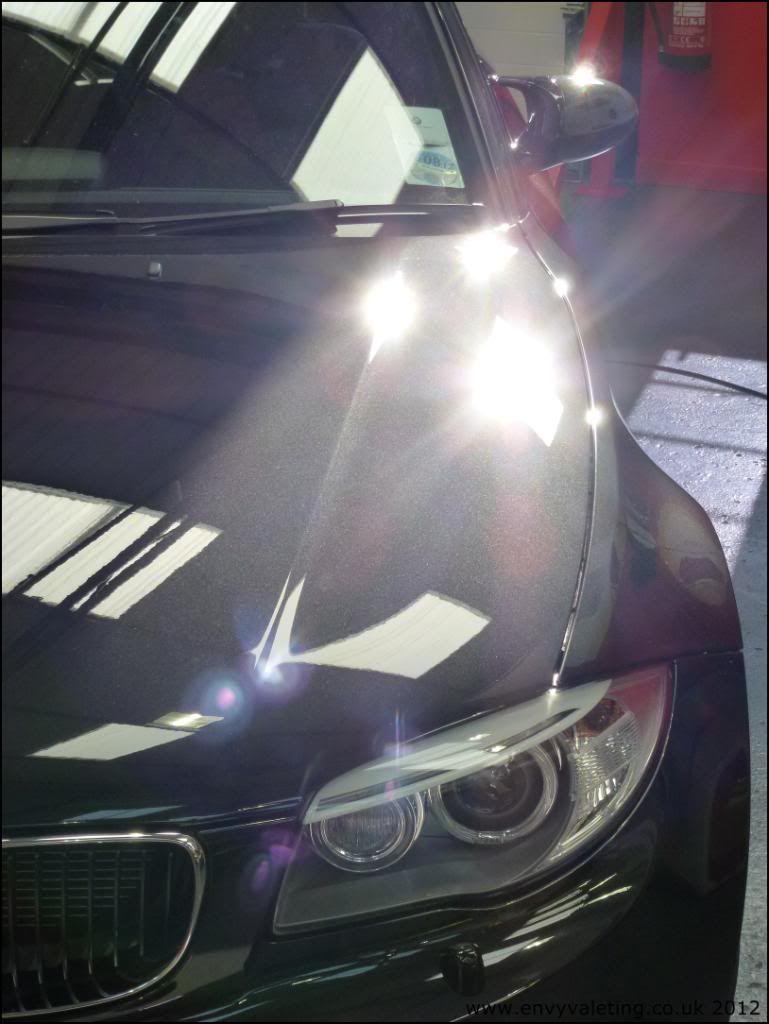
Once the polishing was completed fully, the car was de-dusted and wiped down with Eraser again.
Wax today was one of a certain Vintage, nothing specified by the customer but as he'd had it on the other 2 I've done in the past it seemed fitting for the BMW.
Here it is curing
Whilst the wax cured I got busy cleaning the exterior glass, polishing the tail pipes, dressing the tyres, getting rid of yet more dust, then hoovered the interior.
Leather was cleaned with Dr Leathers wipes, plastics cleaned and dressed. Interior glass and vanity mirrors cleaned with an alcohol based cleaner.
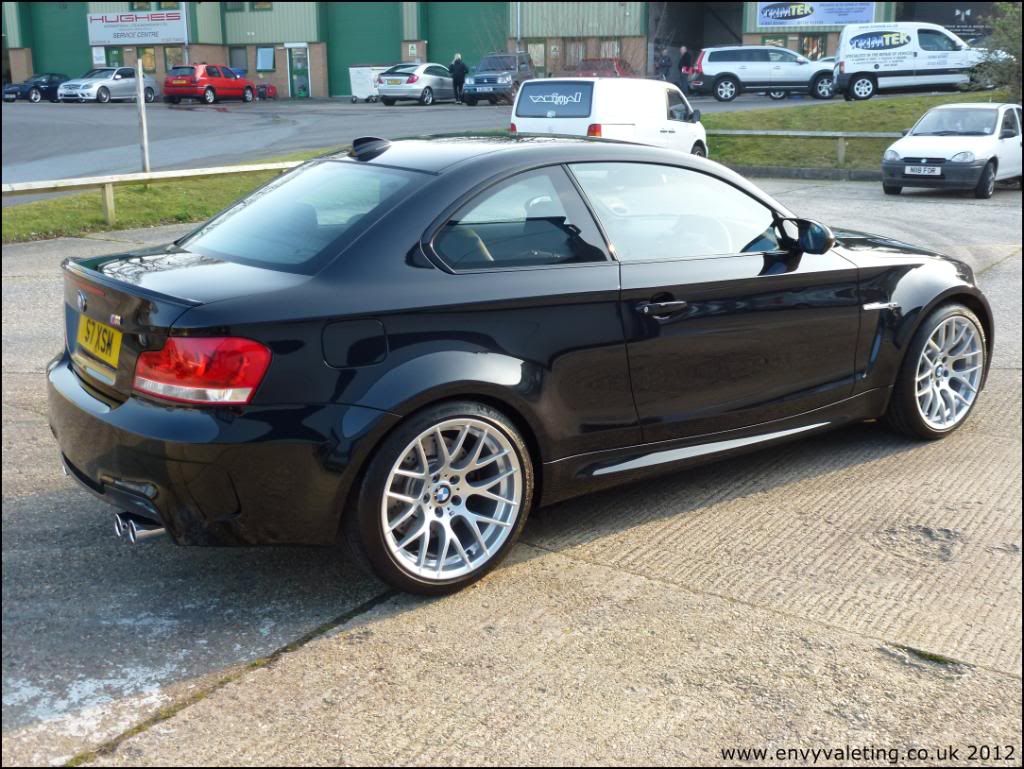
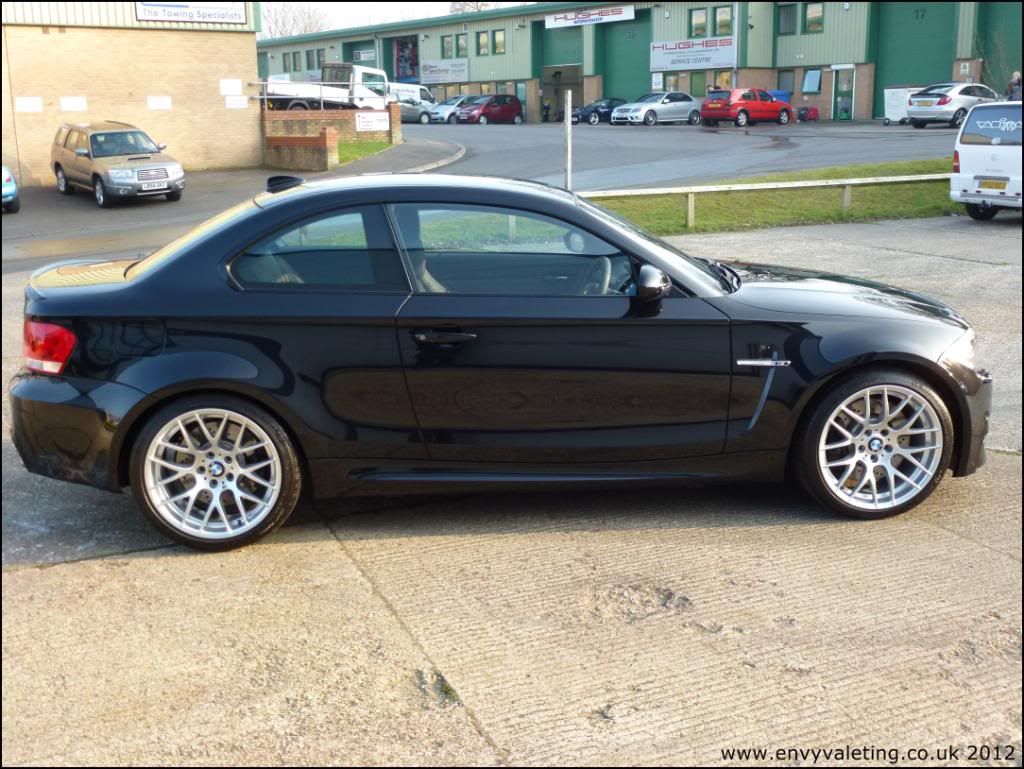
By now the wax was cured and I buffed it off, stood back and grinned at the car. It looked good indoors so I was sure it'd look great outside in the last of the south coast sun.
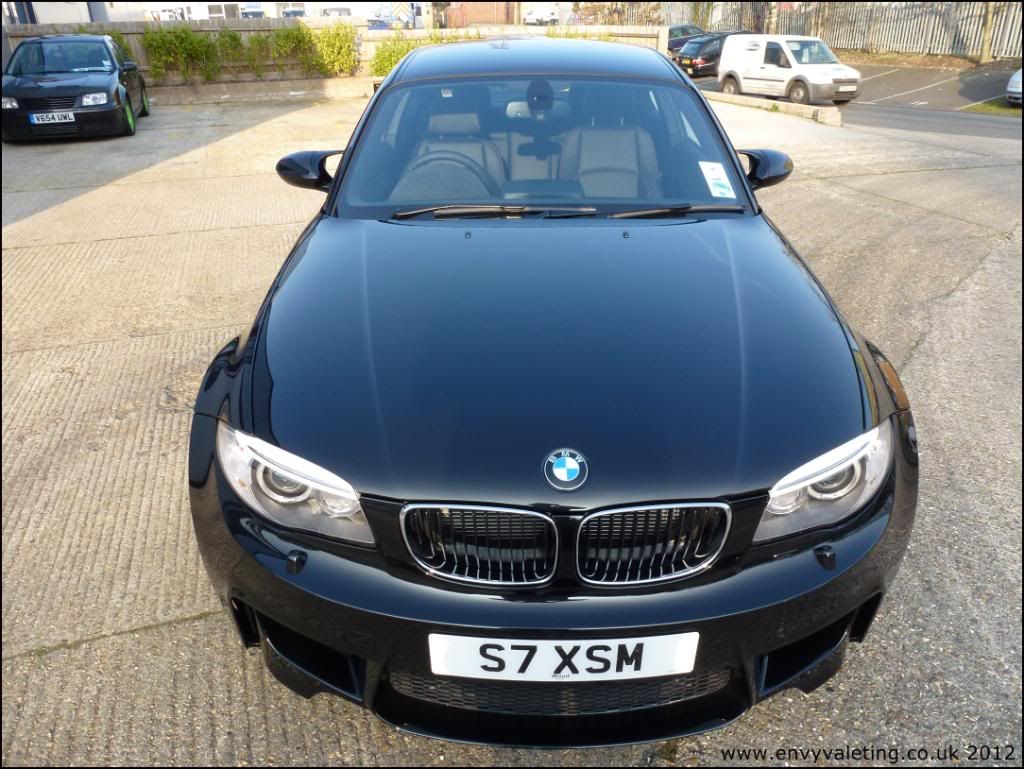
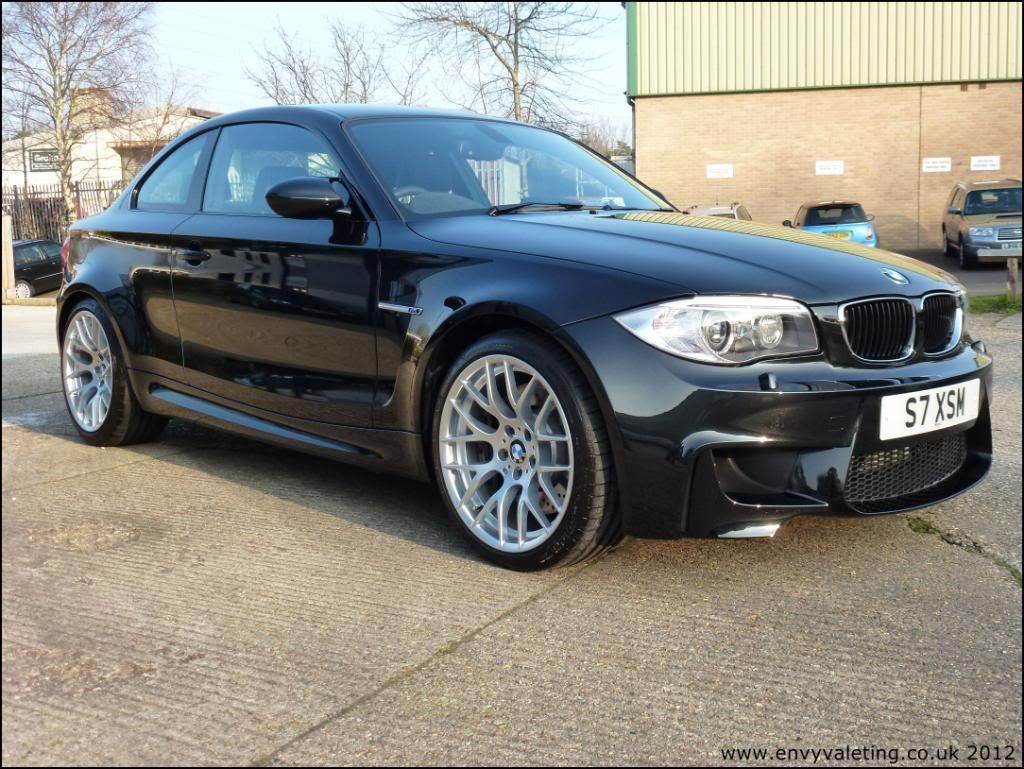
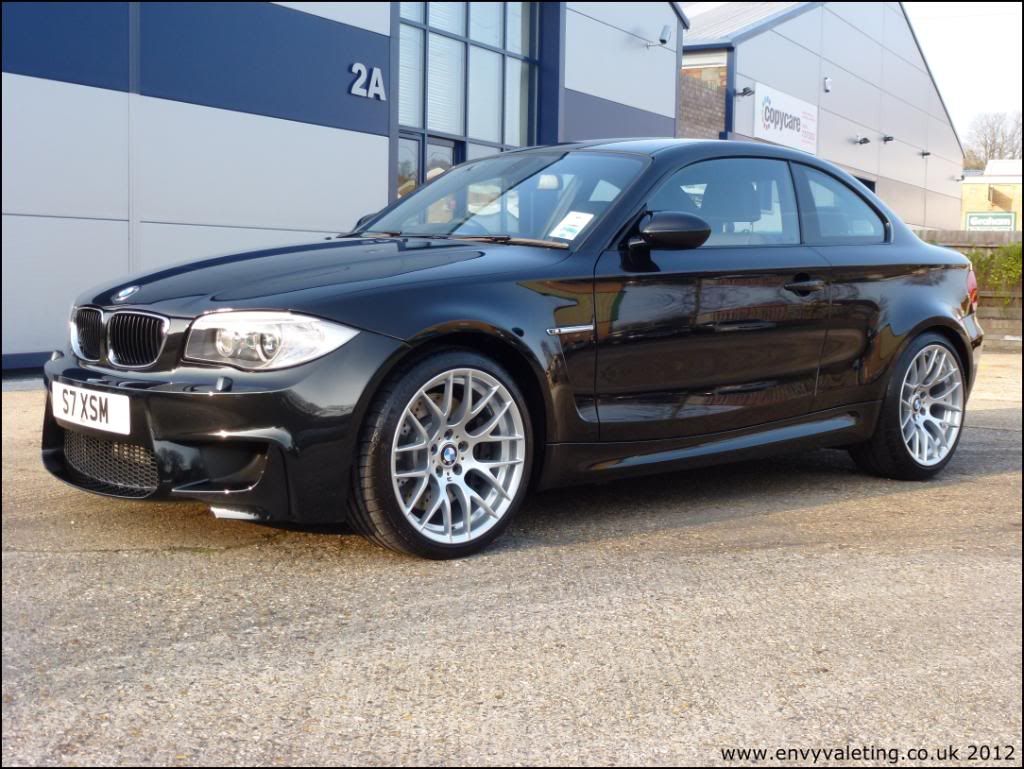

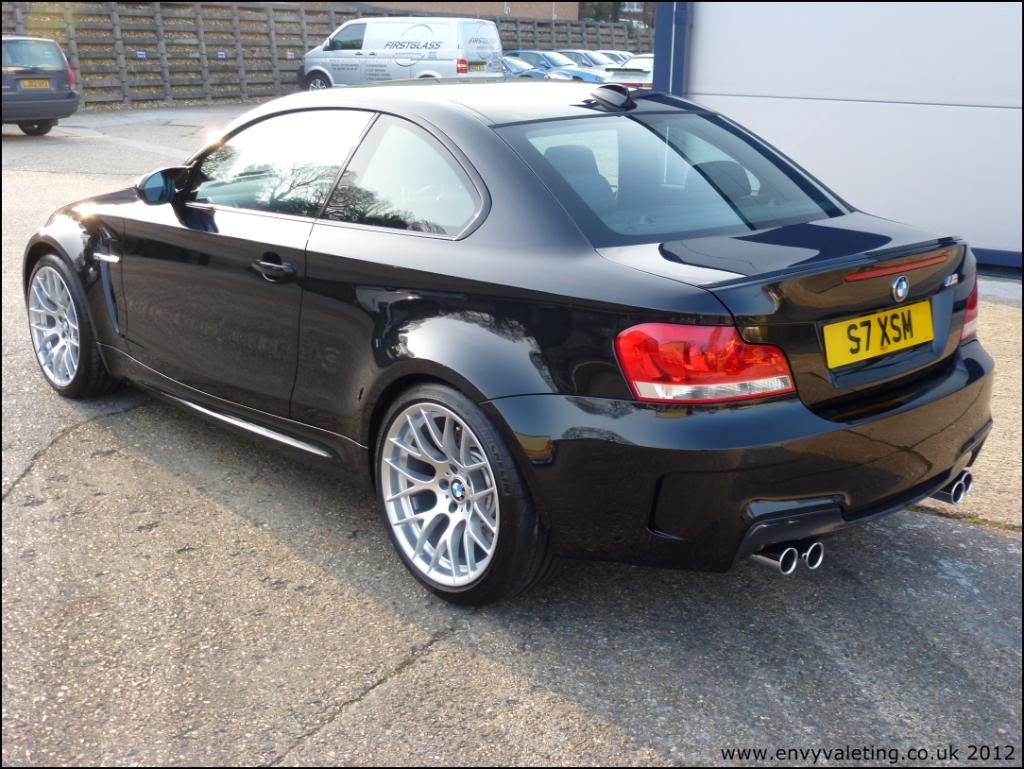
Many thanks to the customer for the repeat business and the faith to tackle his new baby.
Thanks for looking
Tim


