Ā Ā
Ā Ā


This has been acquired for a couple of reasons:
1) Everything i do to the e46 M3 to make it better on track, makes it slightly less comfortable on the road, and on my current trajectory it will end up being very little fun at all for anything other than a short hop, so I really need to stop messing about with it.
2) My e30 318is has gone to a new owner, so i now have a little space.
3) I start to physically twitch if i don't have something to mess about with.
So with the above in mind I decided it was time for something more track orientated bet that would also be quick enough for me to more or less be able to leave the engine alone, it also had to be cheap.
So after looking at a few options, and probably better cars
However a deal was struck for the princely sum of ├é┬Ż1350 to include a two piece GT rep spoiler, a Mocal 10 row, evo front lip, bonnet pins, and was supposed to include a decent looking 6 point cage.
This left me with a problem as i (for work reasons) live on the Isle of man and the car was in bits in Shrewsbury
So a few calls were made and the many wel knows forum individuals came both to assist and put me up for a night.
(special thanks to: Ollie, Coxy, Passenger Face "lee", Sniff Petrol who all pitched in to get the job done in a day, it couldn't have been done without their help)
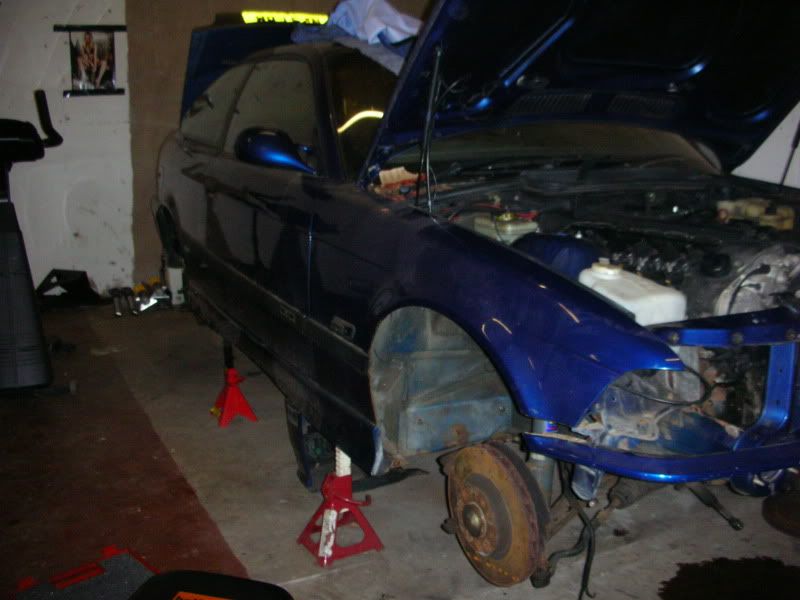
Either way after a bit of a mammoth effort where exhausts didn't fit and brake hard lines needed to be completely replaced the car was rolling again, sadly there was no way the roll cage would fit, it just wasn't happening
Anyway, having got into a safe condition, i then nursed/flogged it 140 miles up to Heysham ferry, ensconced in this very fetching gentleman's smoking seat.
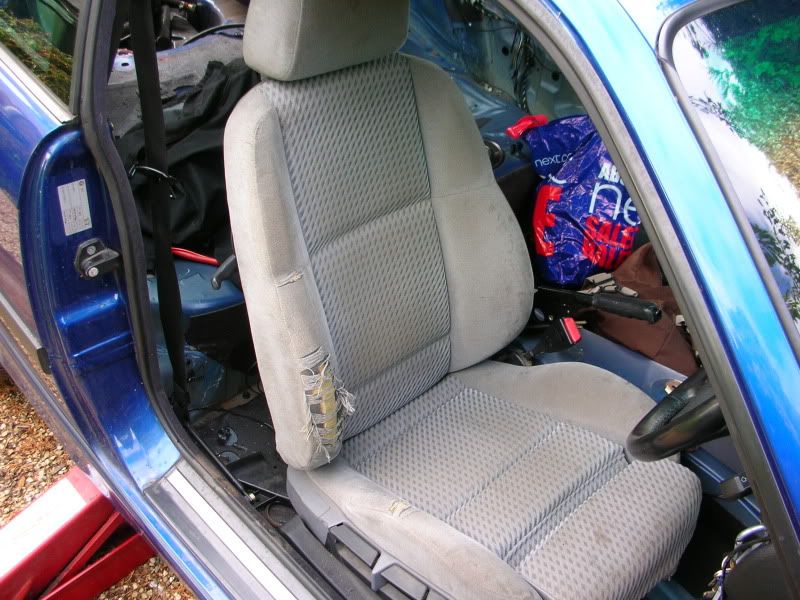
It was, er, nice.
To be honest i have done bugger all on the car until this weekend as its just too dark and too wet, and i couldn't be bothered after the weekend spent putting it all back together.
So i have started to get cracking this weekend, we Sunday afternoon anyway.
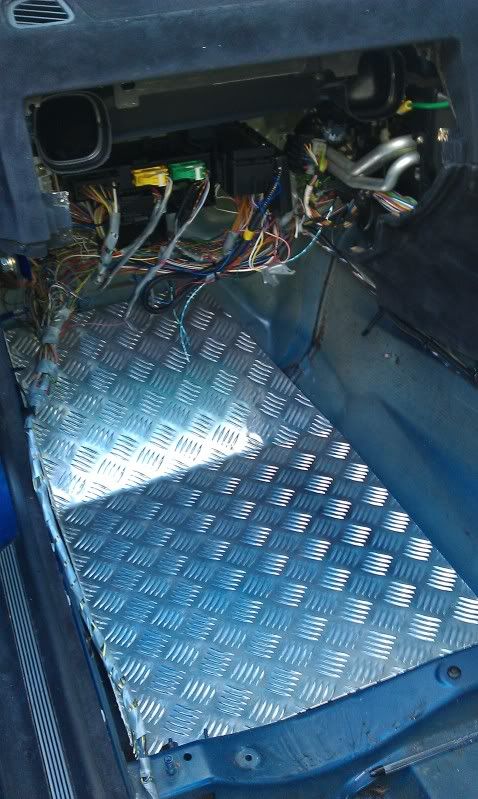
So all sound deadening removed (still needs a wipe down)
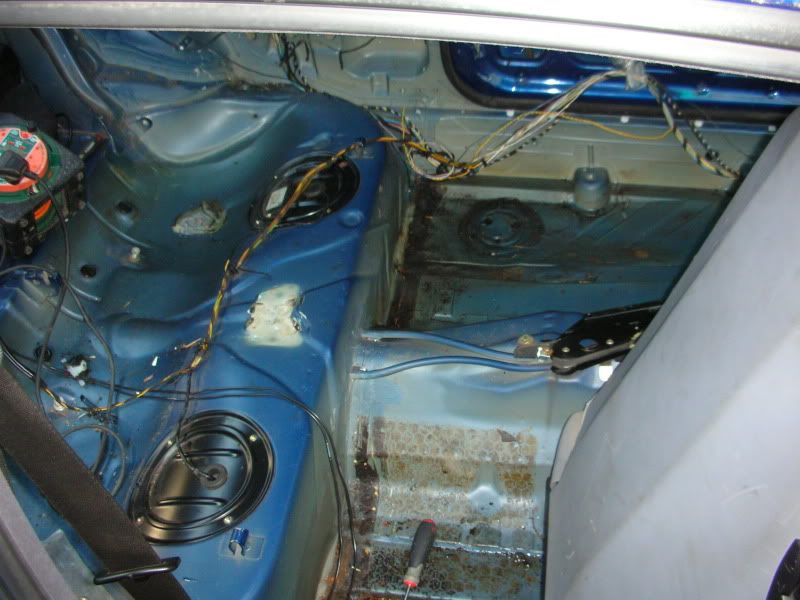
Most of the rear wiring removed:
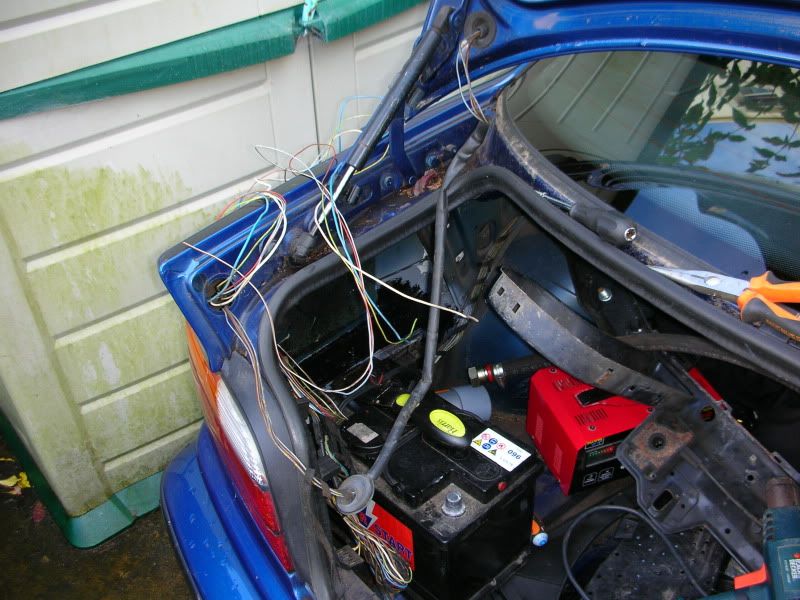
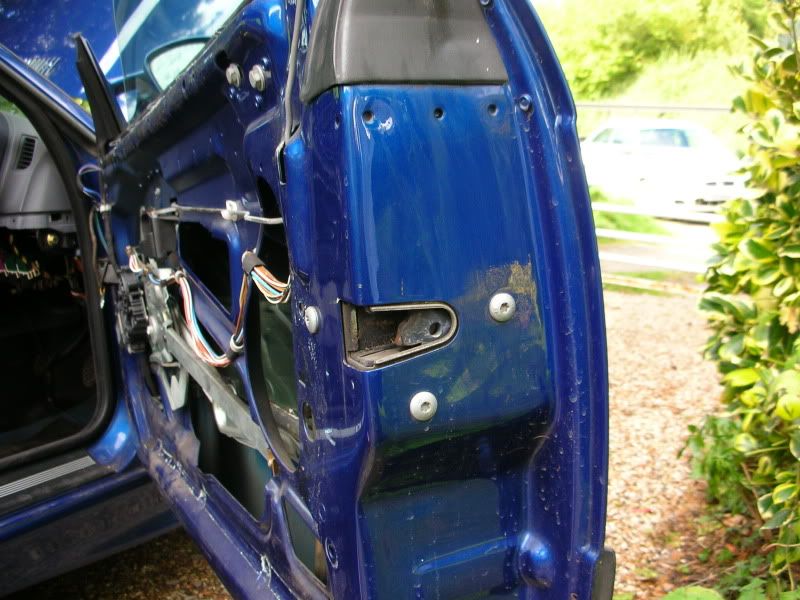
Take another look at the nice ALLOY doors the car has! WOOT!
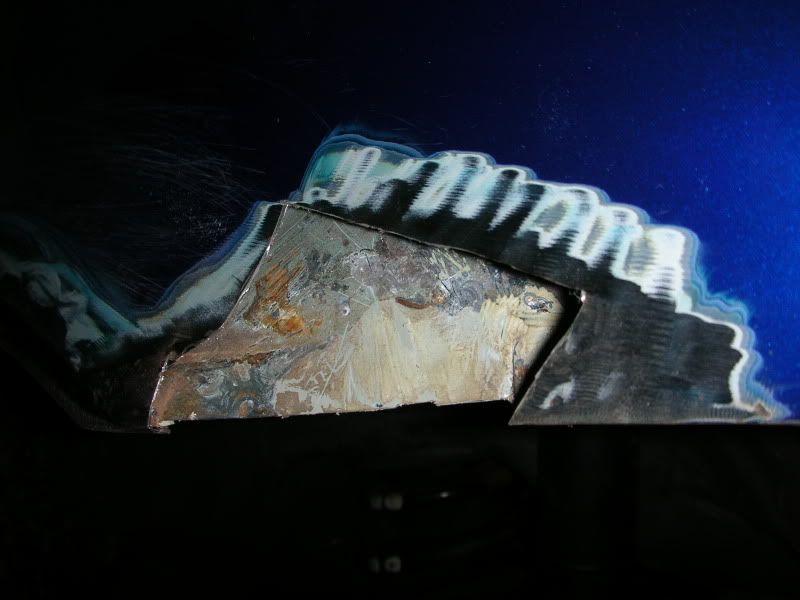
As the original center section is completely dead I bought the Stainless evo one the seller had for ├é┬Ż40, problem is its got no lambda fittings, so
Drill first skin:
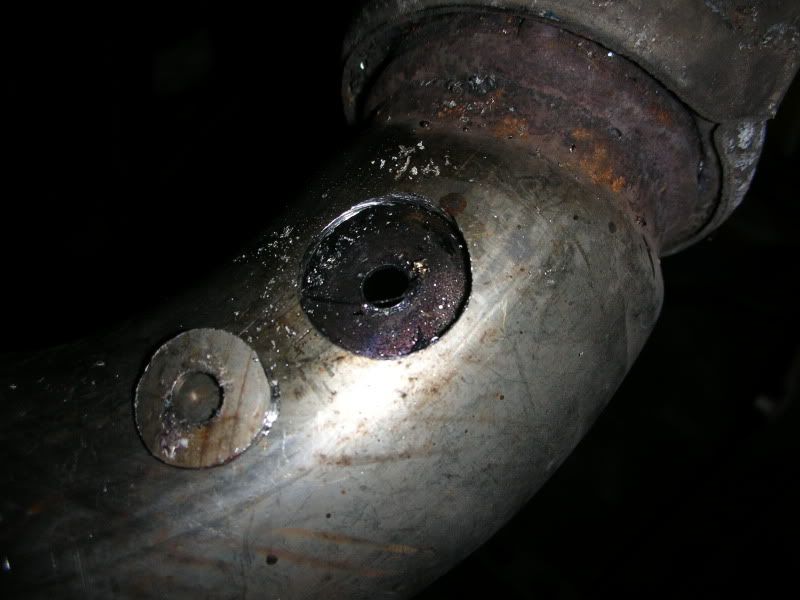
Finish drilling the rest of it

Fit lambda boss's
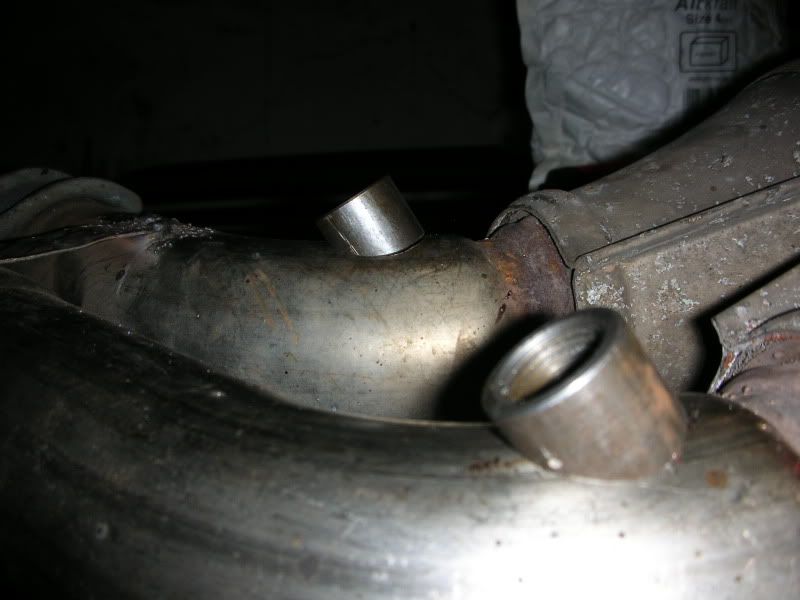
Will get that fitted to the car later, but at least its ready to go on.
Job list includes:
Fit ARP bolts and new bearings (hopefully that will sort the very very slight knocking that i can now hear round cyl 5/6
Repair and weld rusty rear arches
Seam weld any sections that look like they need reenforcement.
Fit electric fan
Flock Dash
Remove all body brackets and wiring that is now redundant
Fit standard e36 rack
Replace ALL new balljoints and bushes.
Fit plumbed extinguisher
Fit proper roll cage
Replace diff plates and install lower ratio
Polly rear windows
May look at fitting an evo head and itb's
twin pump and foam baffle in tank
Sort out brakes
Replace fuel and brake lines
spray car and interior
Fit livery
Lots of other things i have forgotten
Man that list looks big.
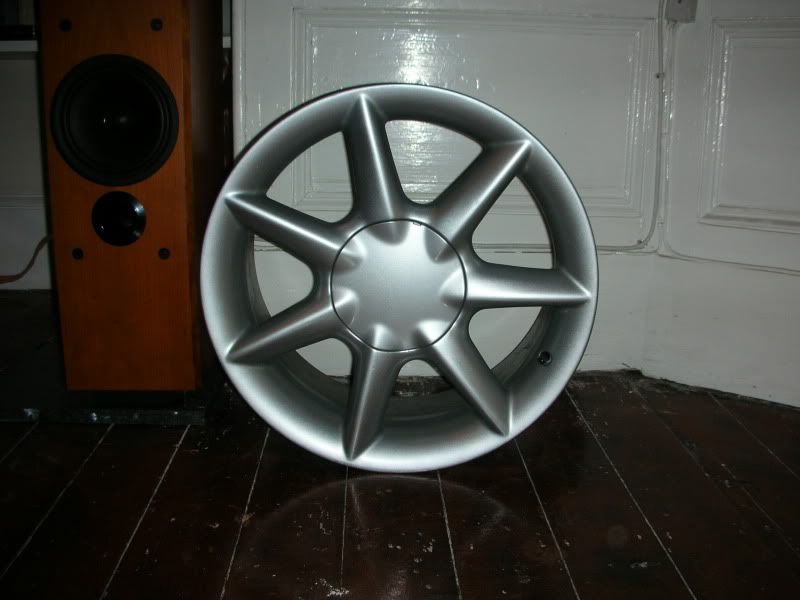
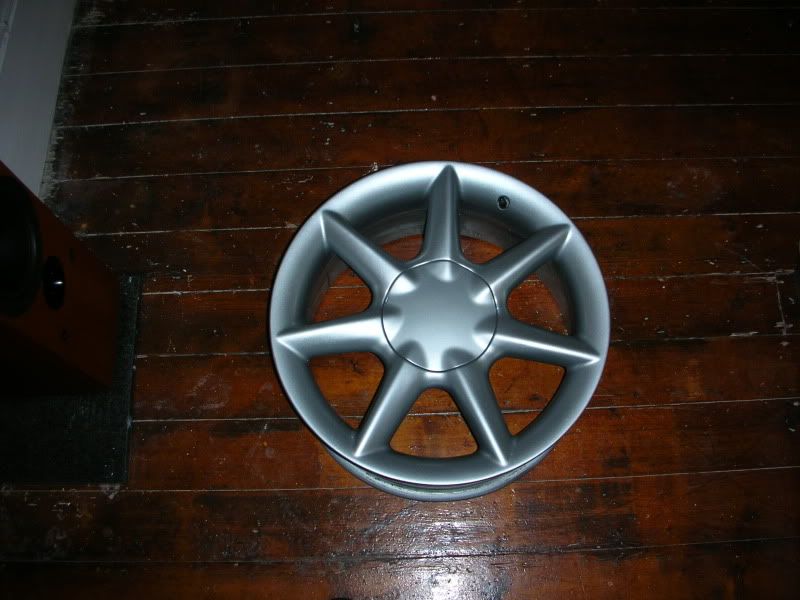
Right, some bits have started to arrive, i spotted these months back when they were white and thought they were badass then, oddly imo they never sold and re-appeared in silver.
A deal was done for ├é┬Ż120 plus delivery:
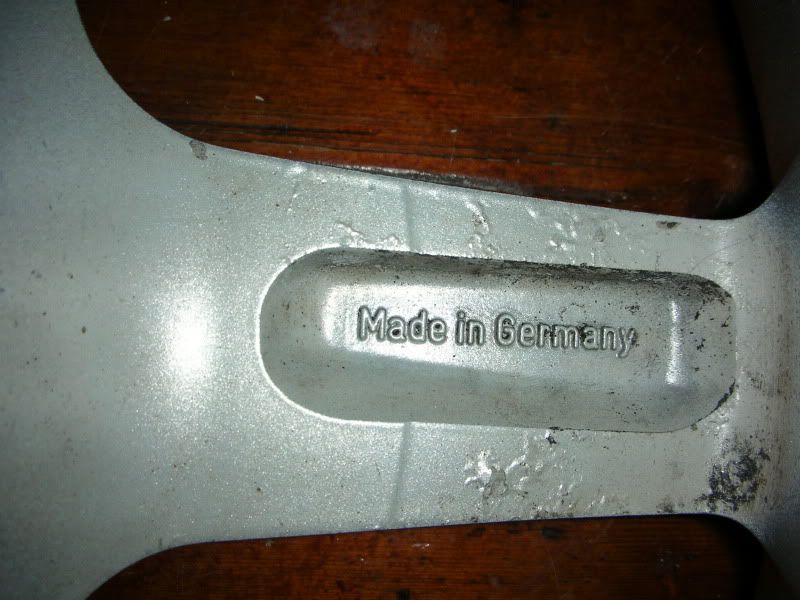
Ronal et20 8j rims, apparently a 5 series option, though i have never seen them on a BMW.
Providing they bolt up right i will be very pleased with them!
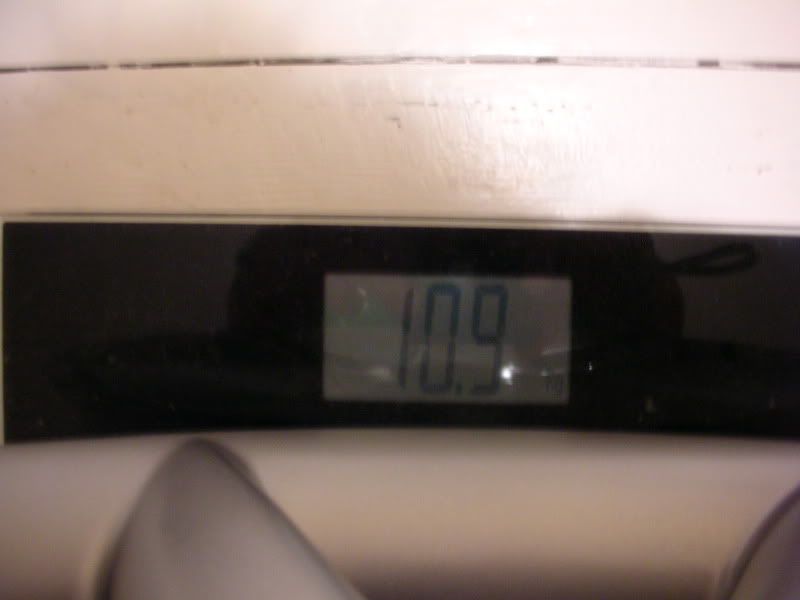
They weigh in at a consistent 10.9kg, which for an 8j 17 is not too shabby, not mega light but not bad for ├é┬Ż120
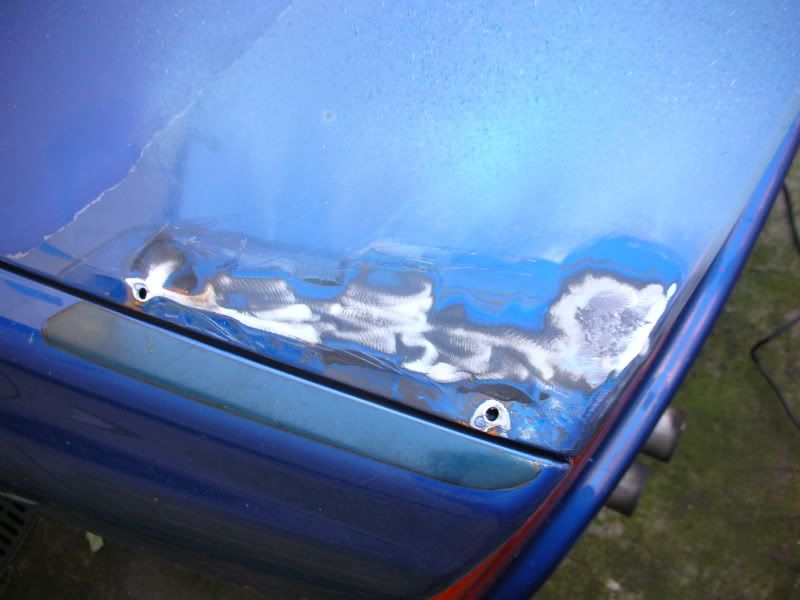
Well another late start of a Sunday (just too dark by the time i get back during the week) i got cracking on the rusty rear arches, ergh
Well in short the offside cleared up to bright metal ok
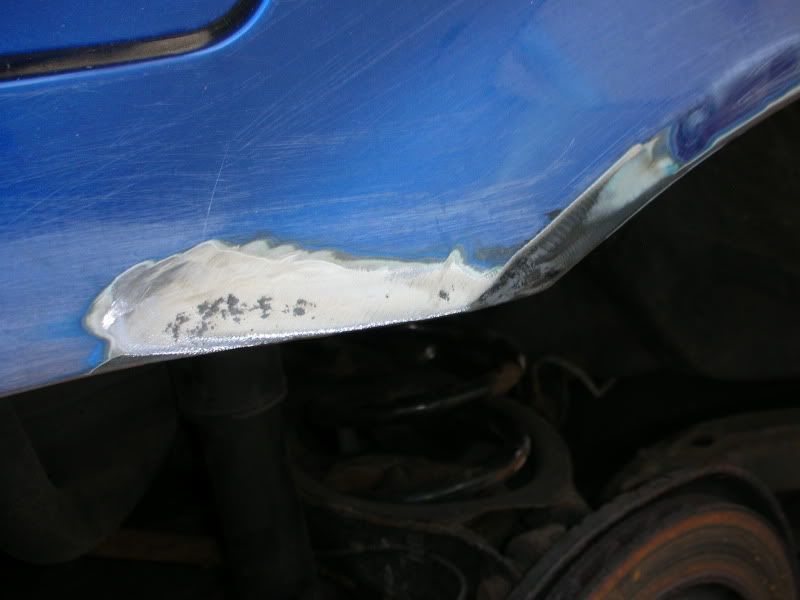
But the nearside
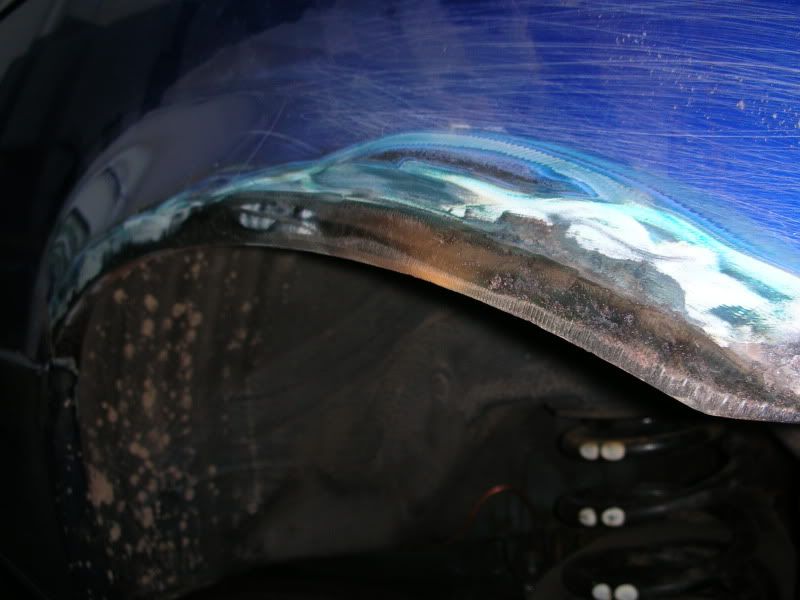
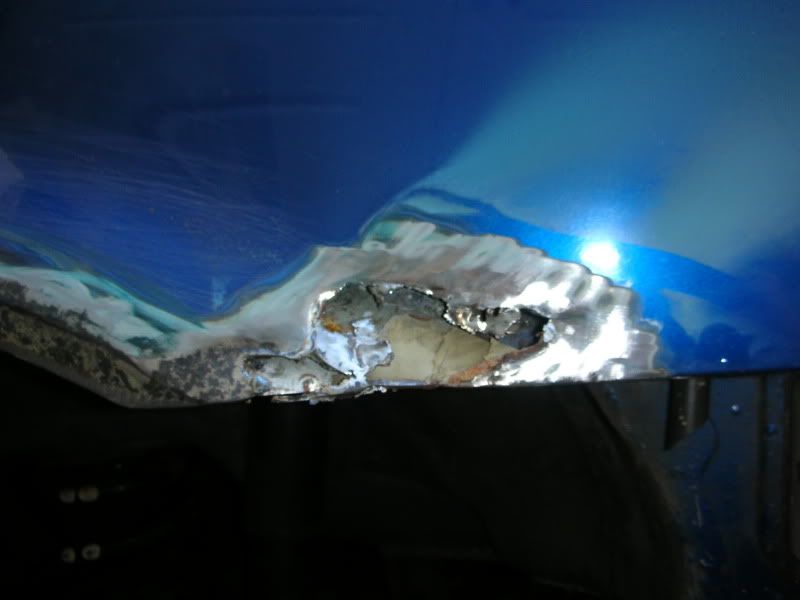
Interestingly, there seems to be a obvious reason why they all rot out at this point on the arch

The inner and outer arches, are not welded, they are simply bonded together with the same seam sealer you can feel in the inner lip, could be worth considering if your considering if your going to rake it all out to roll the lips. There is the odd spot weld here and there, but the bulk of the outer arch is secured just with seam sealer!
boot came up ok though!
Thought i would chuck up a bit more progress:
Small update, mostly parts really as work has been nuts so I just haven't had the time to get out there for more than a hour.
Spec list currently reads (although not actually attached to the car yet)
Car
GT hi rise Spoiler
Silicon coolant hoses
Evo center section
clutch hose
Bonet and boot Fixing Pins
8j Ronal wheels
Steering wheel
Boss
Camber arms
Differential plates
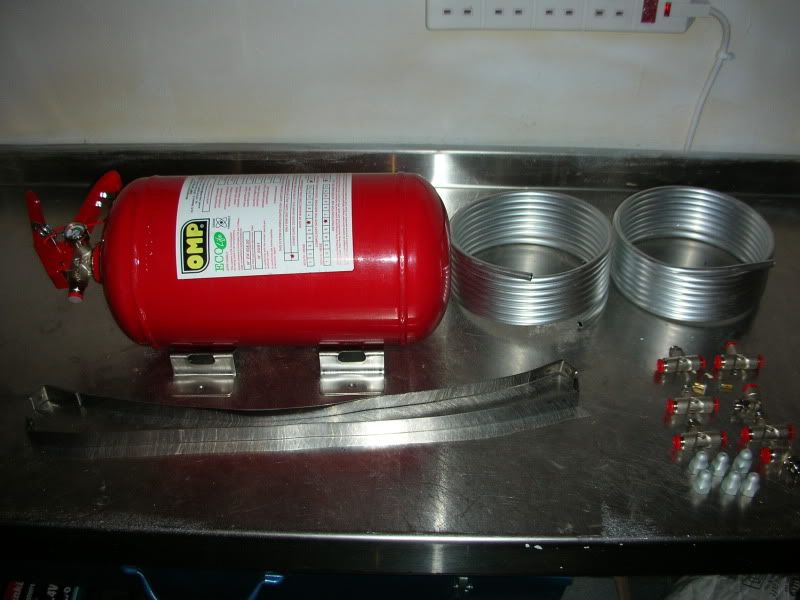
Plumbed extinguisher (MSA)
seat mount
Kevlar seats
suspension
Lamda boss's
Rose joints
Misalignment spacers
stainless rod
Mocal oil cooler
Most recent arrivals of note are:
HSD Suspension
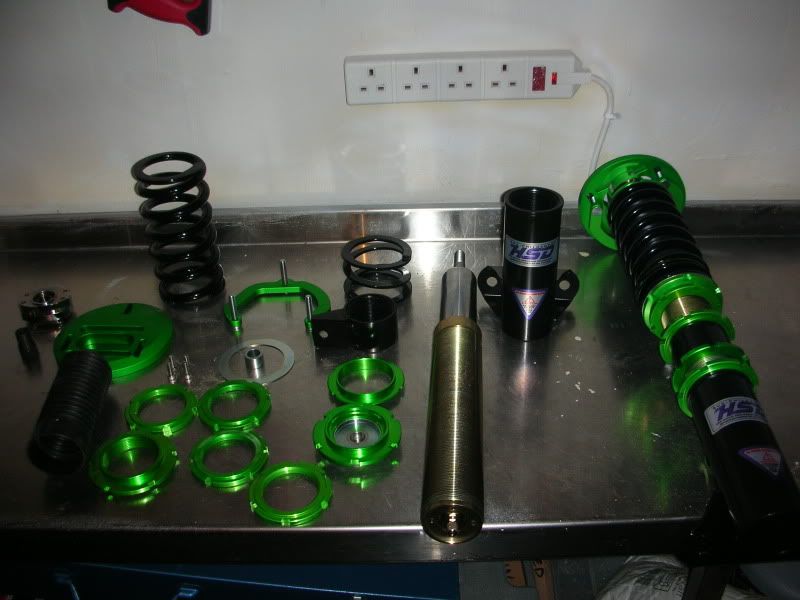
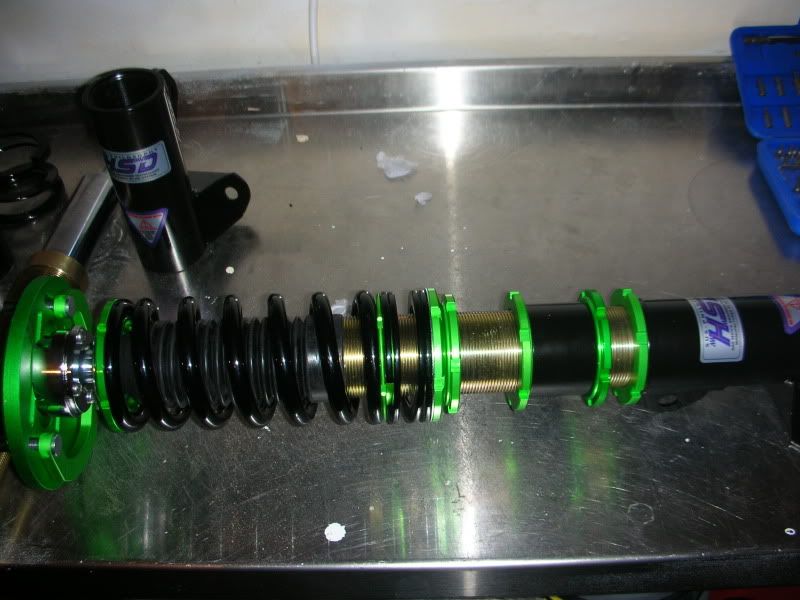
Complete with some very nicely made camber and caster adjustable topmounts.
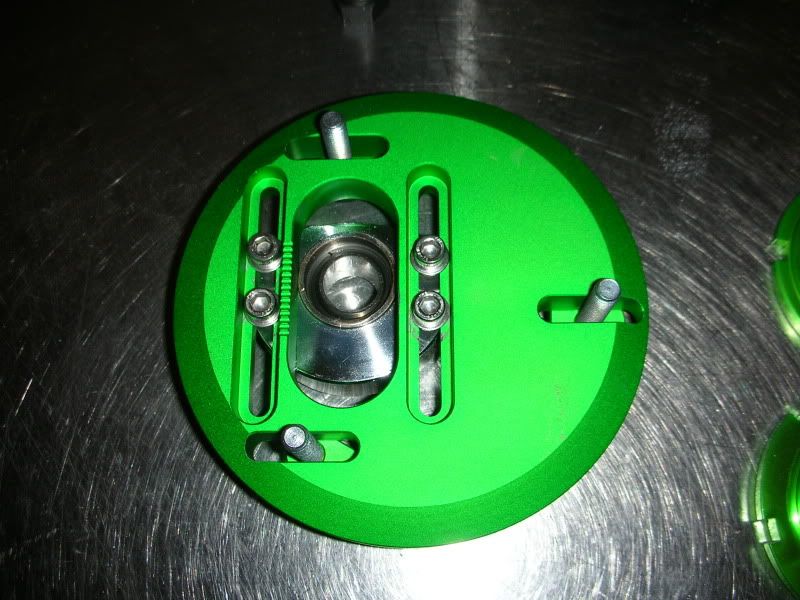
These don't come with the adjustable roll bar links like the e46 variants (probably due the the increased complexity Vs cost of the e36 items) so i will be making up my own rose jointed ones, bugger paying the prices people want for them!
Extinguisher is a good bit of kit, just need to get the fire pulls to complete it. 6 nozzles and liters to the engine bay and 2 liters into the drivers face, sincerely hope i never need to test the effectiveness of this kit

All the other bits are just small stuff so no pics, but hopefully i should have some more time in the next few weeks to start making progress.
Current cost so far is ├é┬Ż2365
Ok, so what has happened, well I have been lying on my back in the dark while snow falls around me with my balls trying to utilise the warmth of my small intestine, i get frostbite on my c**k and rust in my eyes.
Frankly the car is a bit manky underneath, though fortunately nothing that cant be resolved with a flap disk and some por 15 and seam sealer, though i dare say if it was left for another few years it would be game over for the shell.
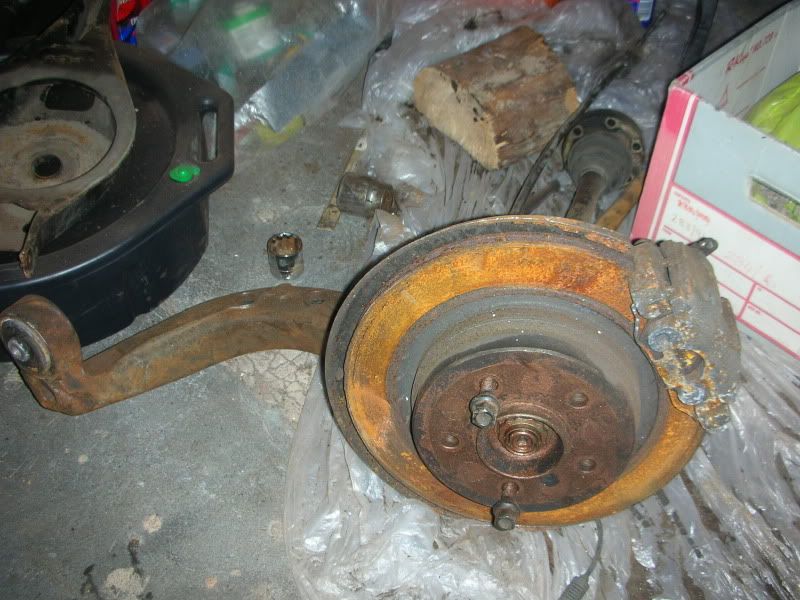
Fist off diff out and back axle down (this is a **** in the cold, on your tod on axle stands)

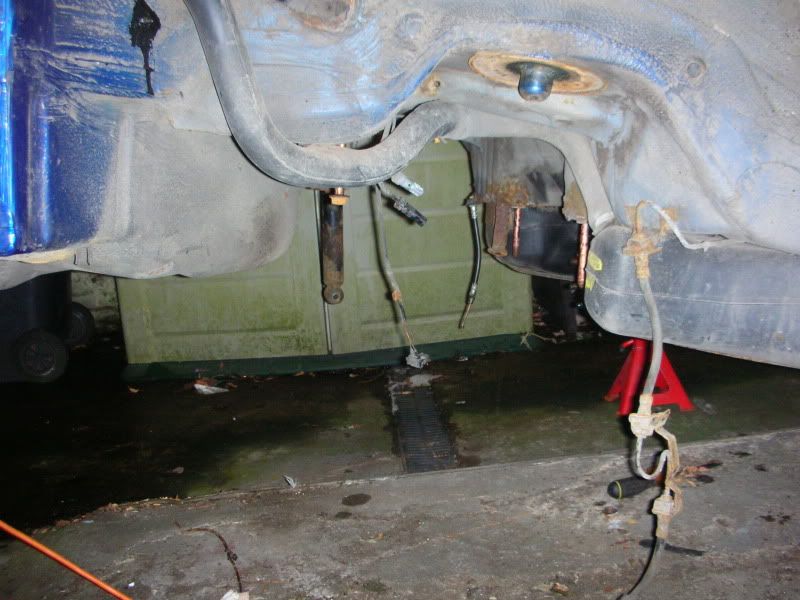
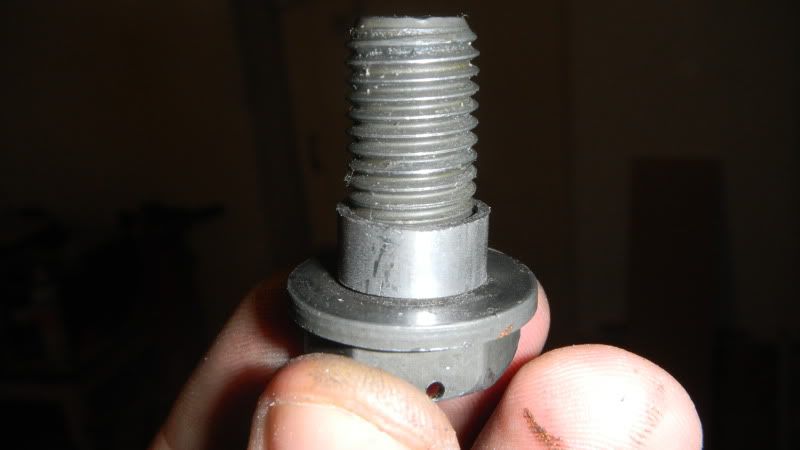
This was almost plain sailing, with the notable exception of one of the unbelievably rusty rtab bolts
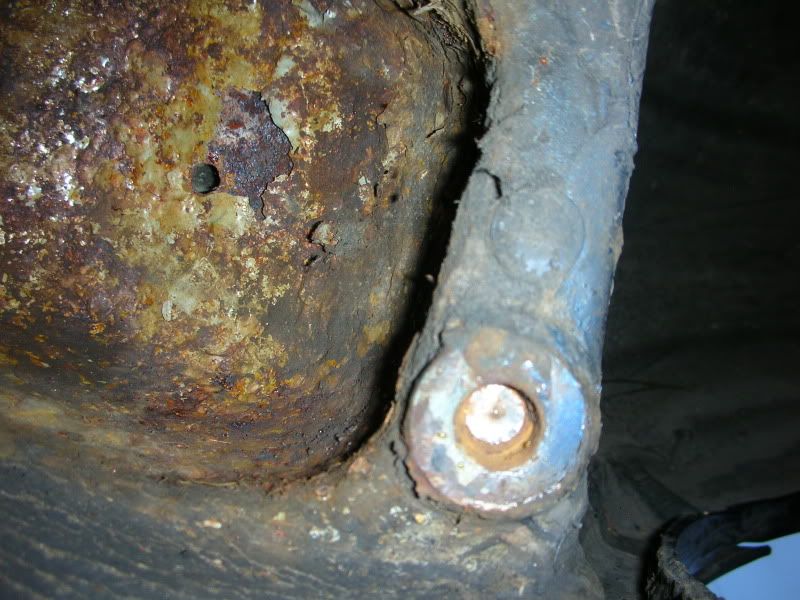
This will doubtless be a ball ache to get out, but one way or another it will get sorted, even if i have the fill it with weld and drill and tap it, ****ing thing.
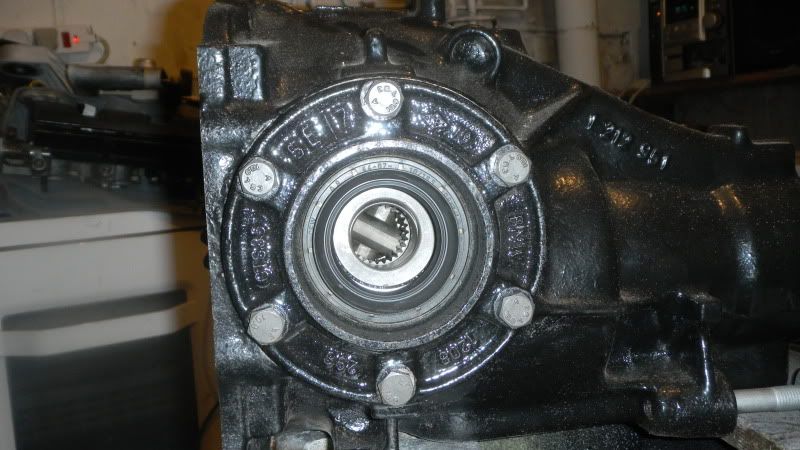
Then in the warmth of my basement i broke the axle down and stripped the diff.
It was very crusty
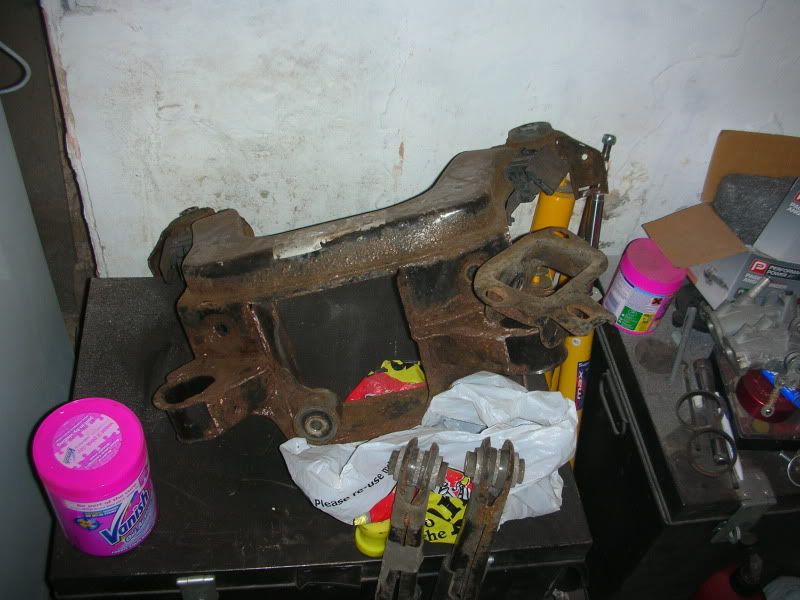
Roll bar
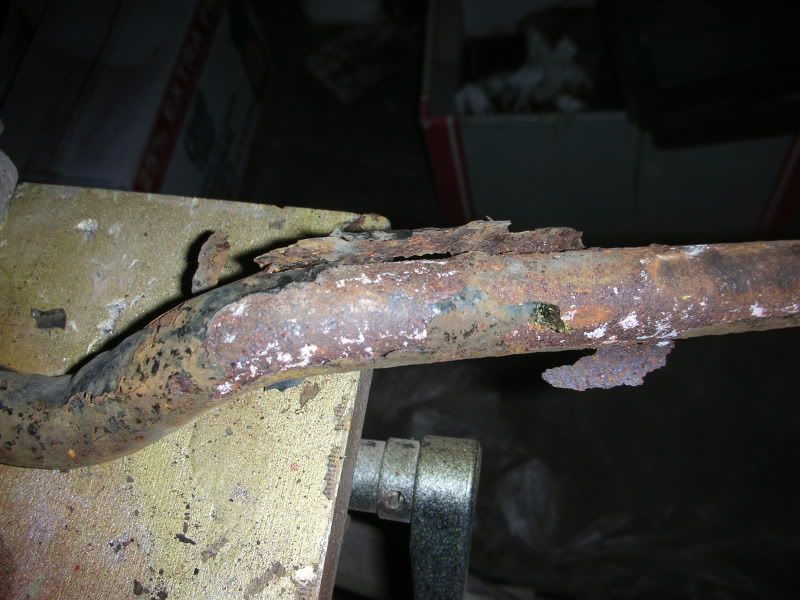
De-crusted
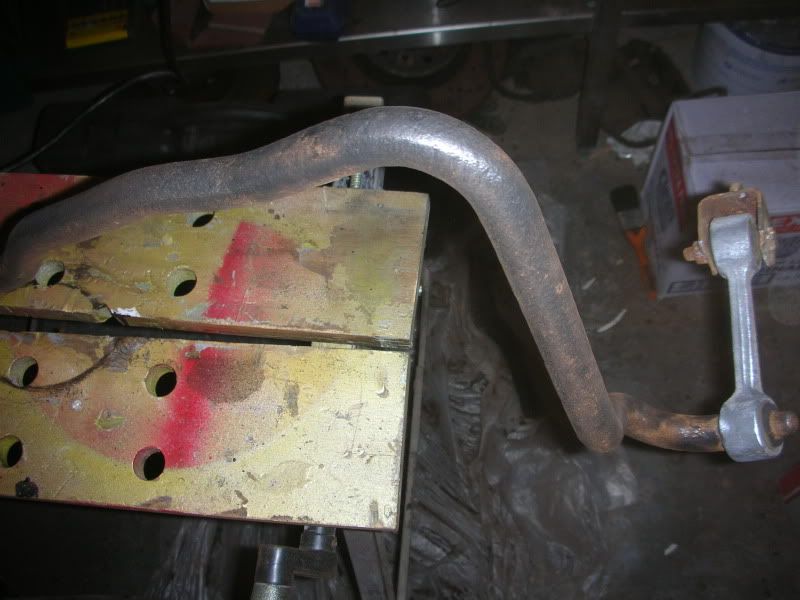
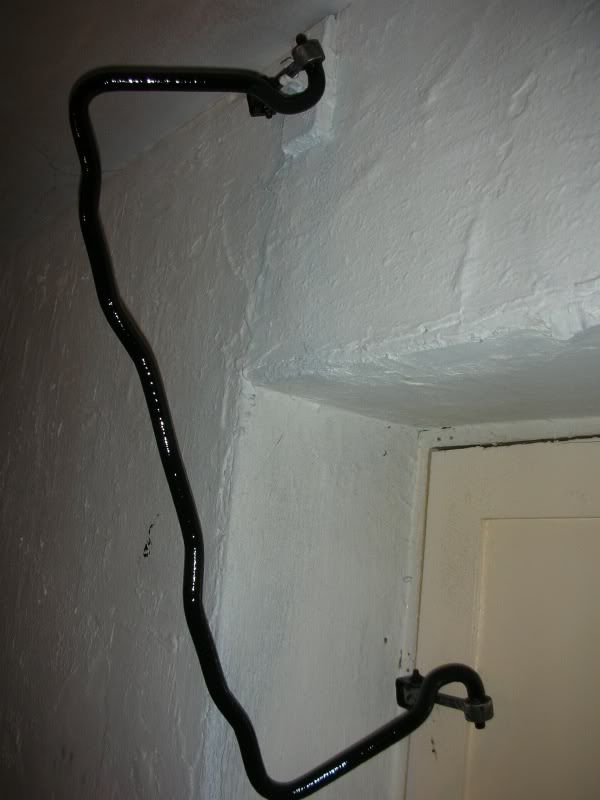
done
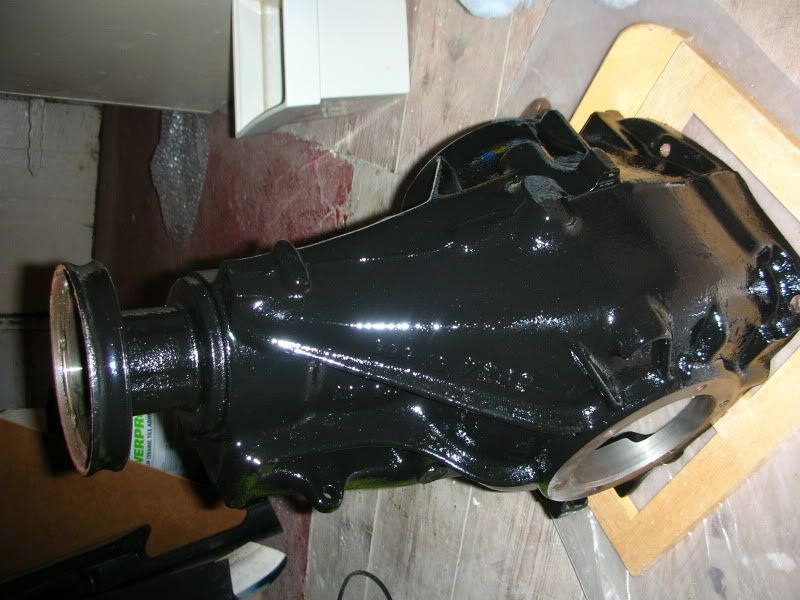
Diff case and bearing races de crusted and treated
Diff has been completely stripped, de-greased rebuilt with the tolerances measured ready for its reduced ramp angles, 3.64 ratio
and possible 4 plate conversion.
Rest of the axle will recive the same treatment, with either 90 grade polly bushes, delrin diy bushes, or alloy inserts, or as a last resort oem replacements, all bolts will also be replaced, as they were all F**K.
Massive pile of ultra hard polly bushings
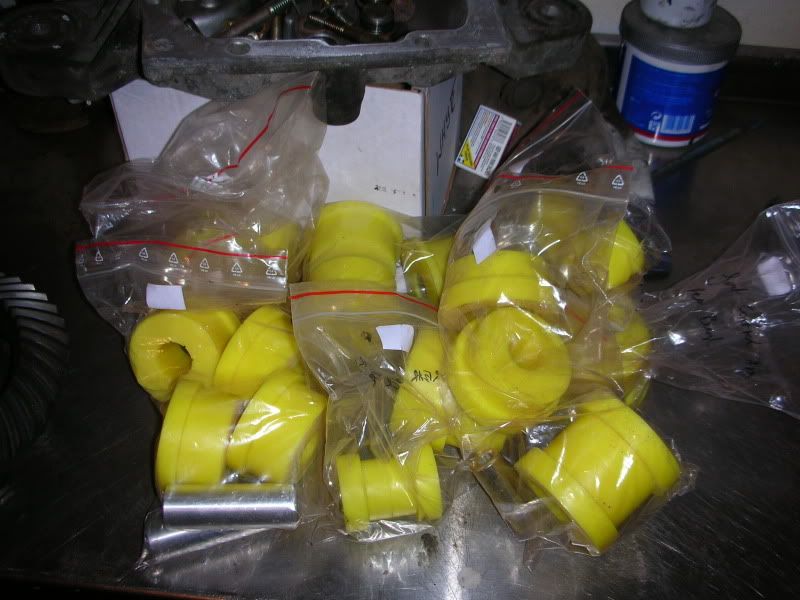
I also started practicing my flocking, I will be keepoing the center surround but im not sure on the glove box yet, it just strikes me as handy to chuck **** in without it rattling all over the gaff.
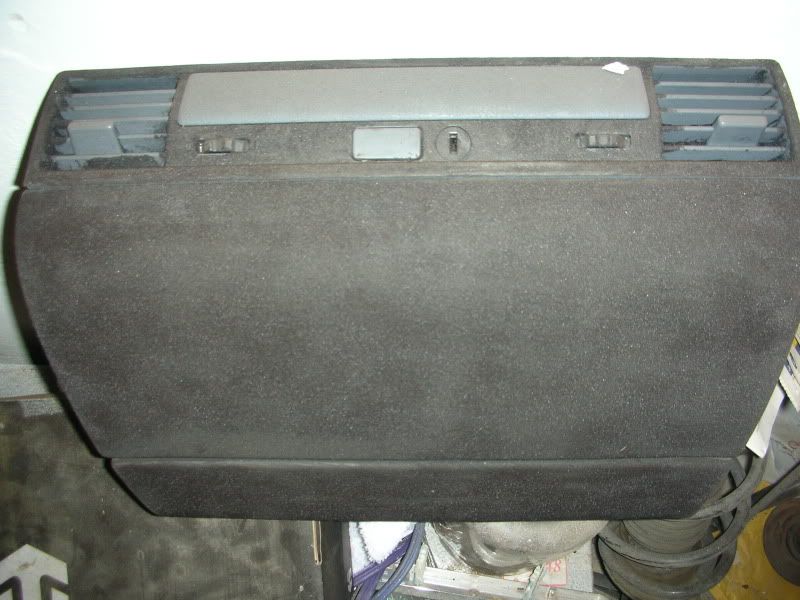
Flocked GB, still needs a final brush
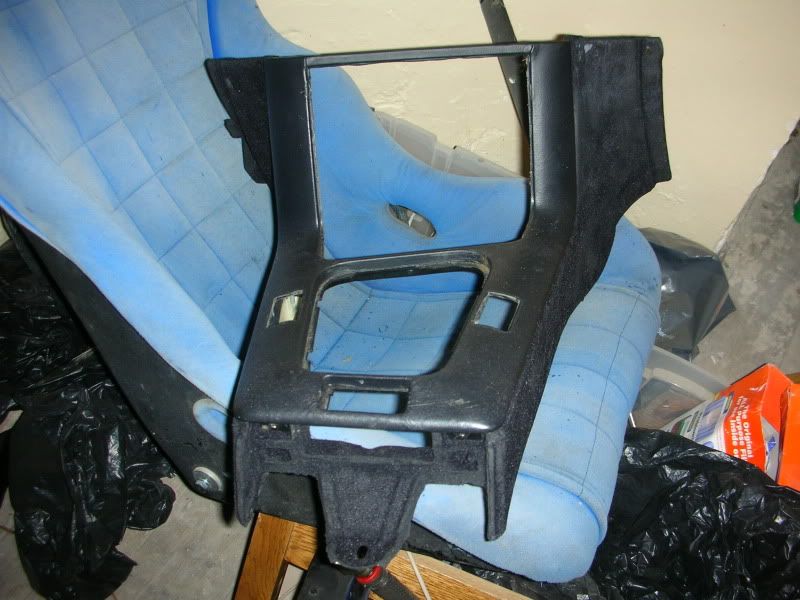
Flocked surround but retaining a little of the extended leather
On the parts front things have still been moving
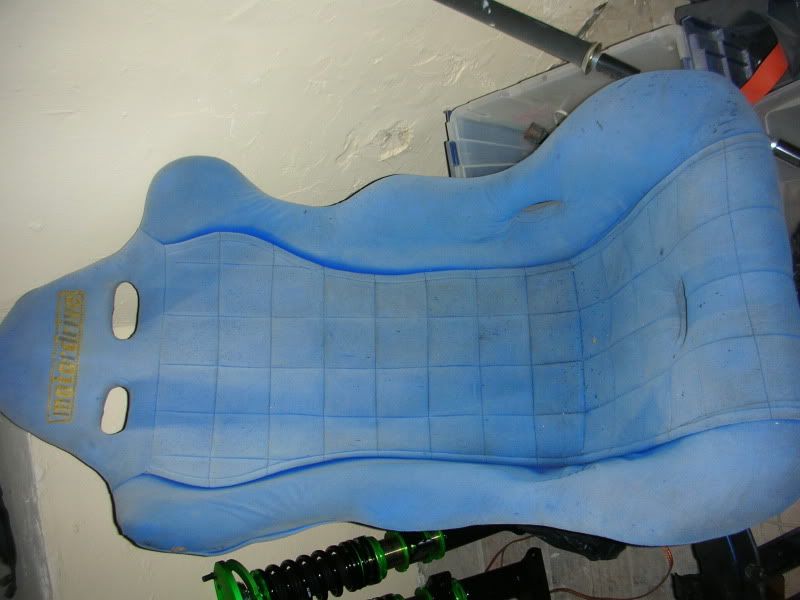
Motordrive Kevlar composite buckets, tatty but light ├é┬Ż40
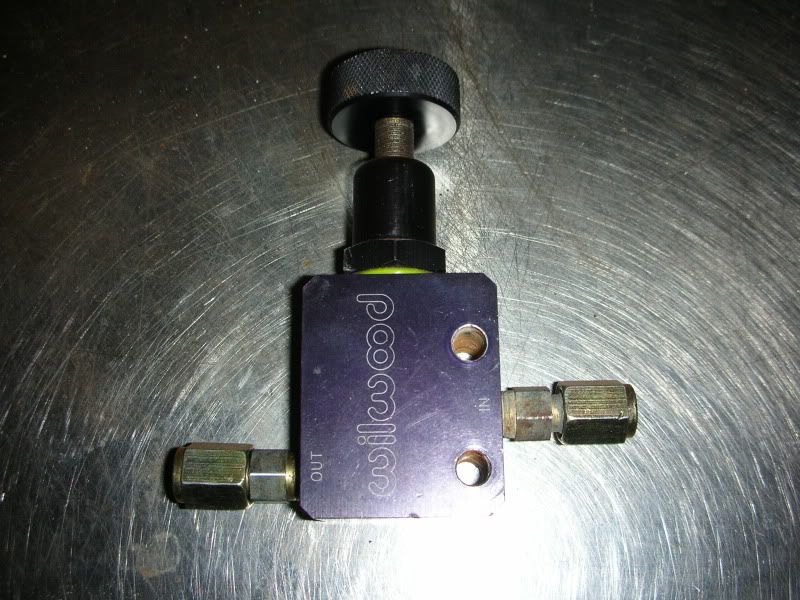
Willwood brake Bias controller (with the weight shifting to the front i want the option to limit rear brake pressure and its a pice of piss as the rear lines will be internal ├é┬Ż10
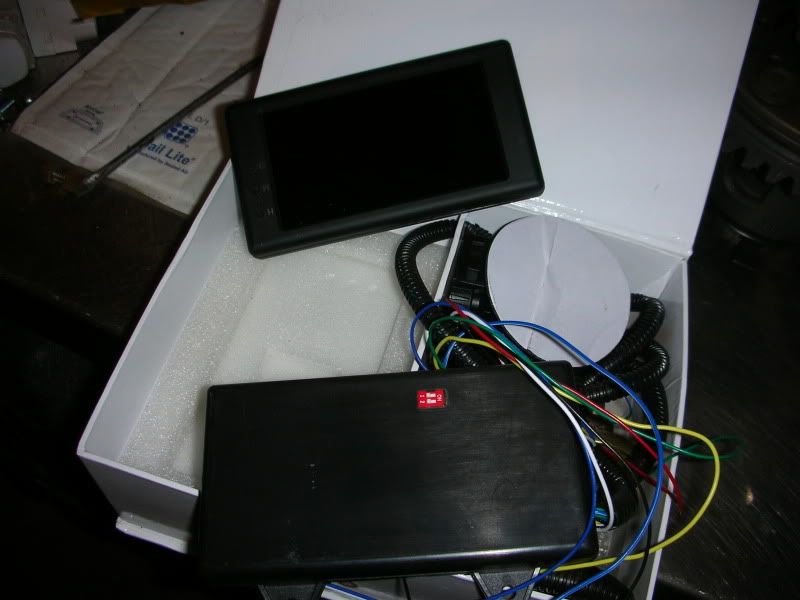
All in one gauge kit (bit like a rally budget stack dash) has Oil temp, Oil Pressure, Water temp, Battery volts, 8k Rpm meter, oh and a clock
Comes with all the relevant sensors and adapters ├é┬Ż80
This is an idea of what its like outside

Bit more done
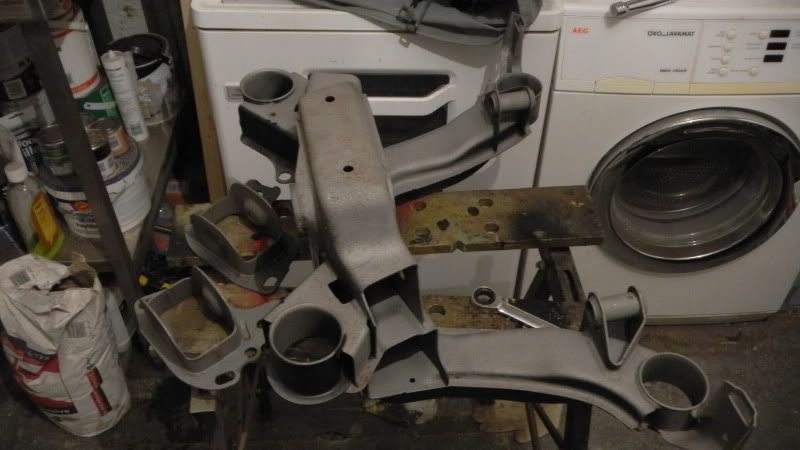
Picked up the carrier/platforms/rtab housings from the grit baster, for ├é┬Ż20 they blasted the whole lot so it seemed like a no brainer really.
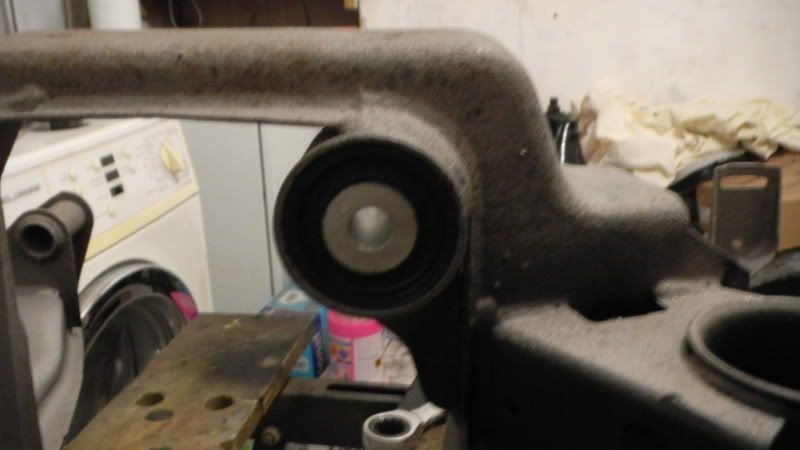
Pressed in the replacement front diff bush (very simple to do tbh)
These were then painted with por-15 direct to the roughened metal, then given a coat of epoxy paint and a top coat of silver, so should stay corrosion free for a good while.
I then fitted the 90shaw poly bushes
Inner upper (don't think anyone other than strong flex makes these in poly)
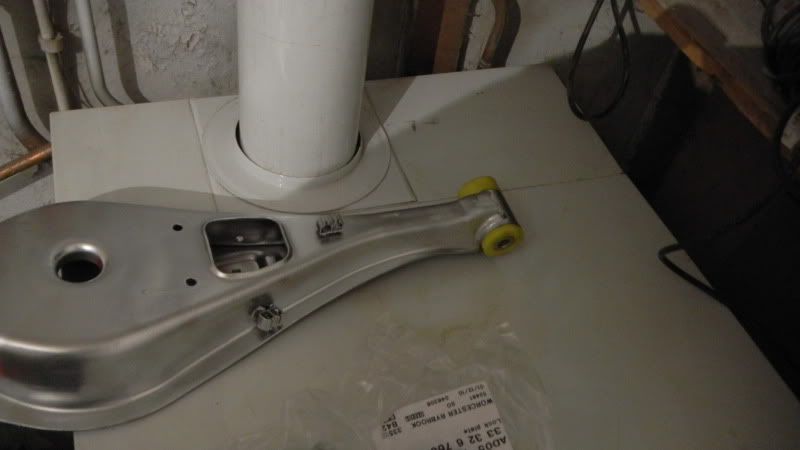
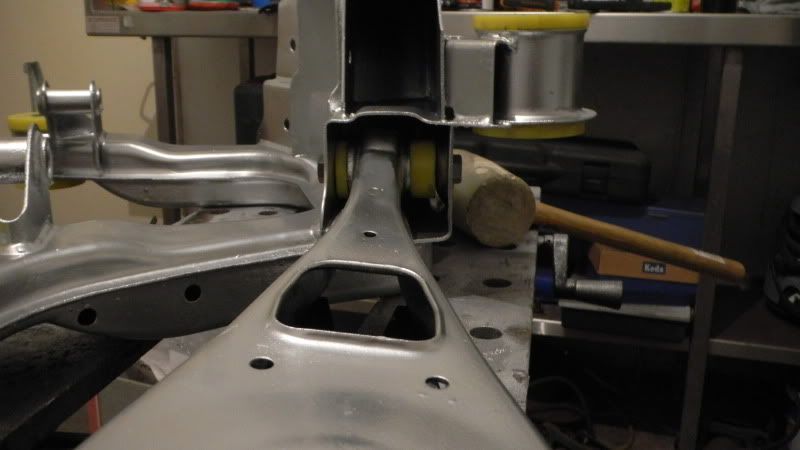
Carrier bushes
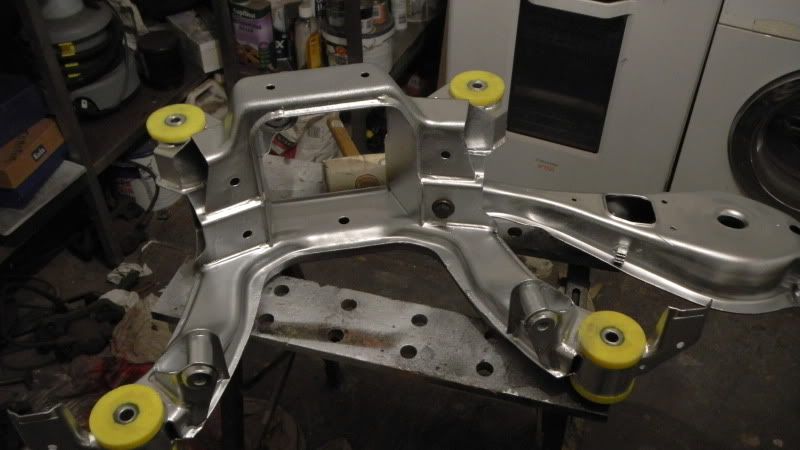
Then the lower adjustable arms (don't like thee really, they are probably 2.5x as heavy as the standard ones, but i have them and they will give me plenty of adjustment without the hassle of the camber bolts.) these were also coated in chassis epoxy
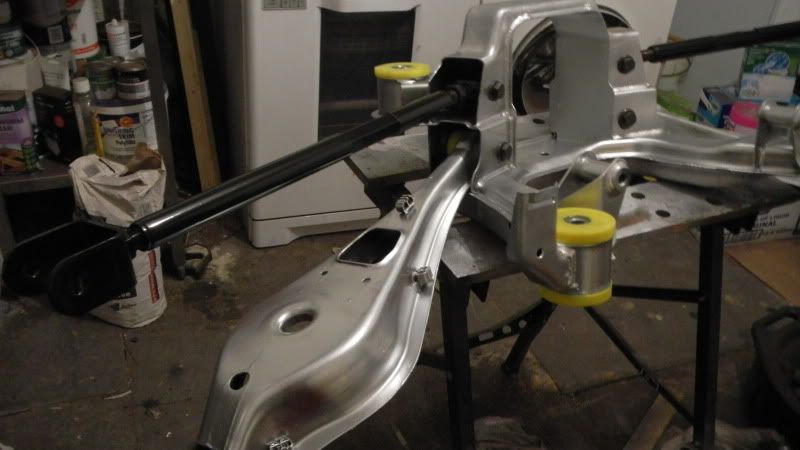
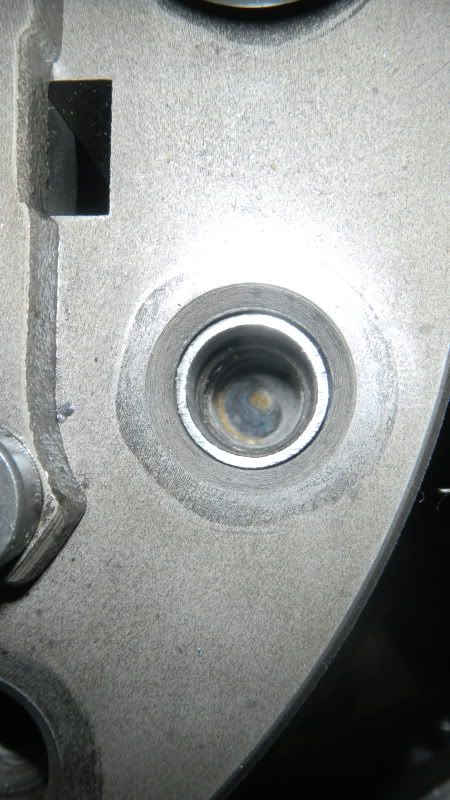
The diff cups are off being machined done to 30 degrees and the new 3.64 pinion is fitted, however the input seal doesn't look all that clever on further inspection so i need to swap that before doing much more with it.
Once its not raining i will start getting it all back on the car and get to work on the front :thumb:
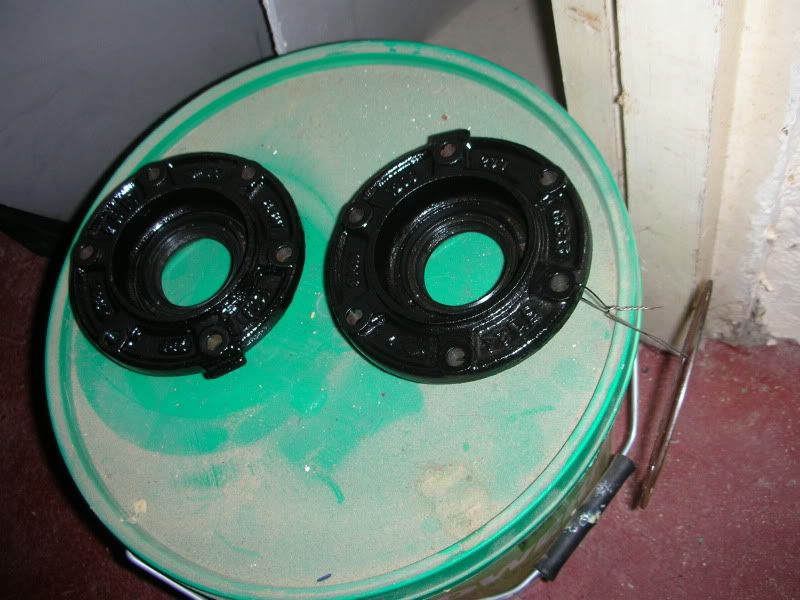
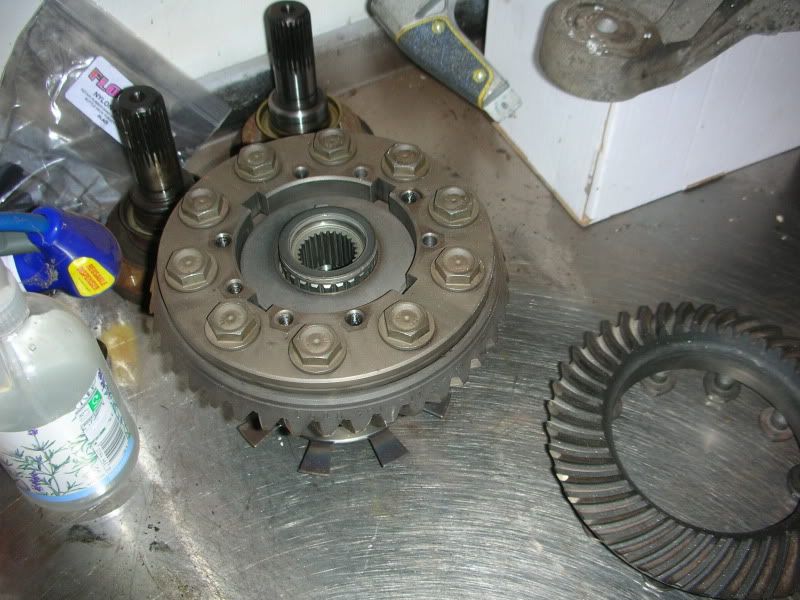
30 degree ramps (spark eroded and polished)
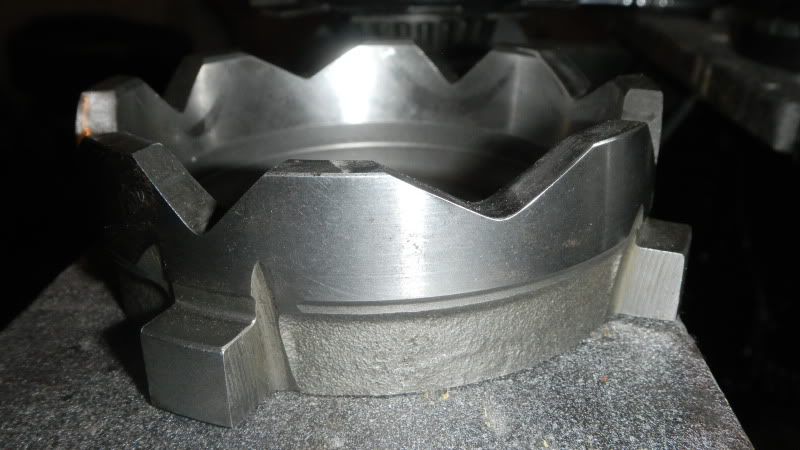
3.64 crown and pinion
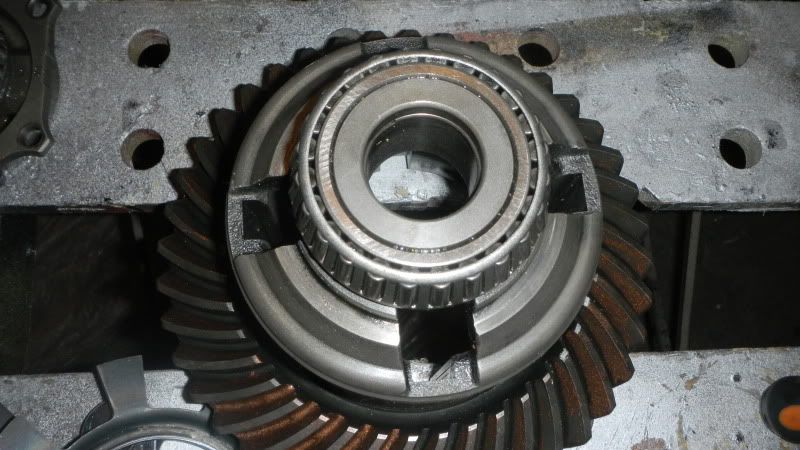
4 clutch plate conversion
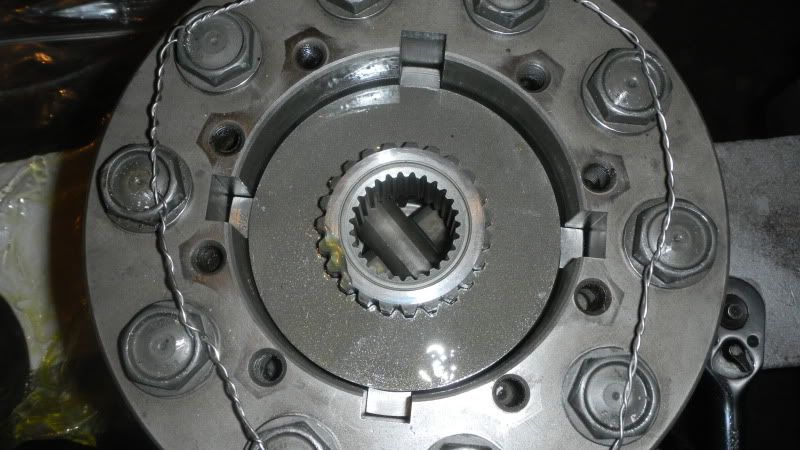
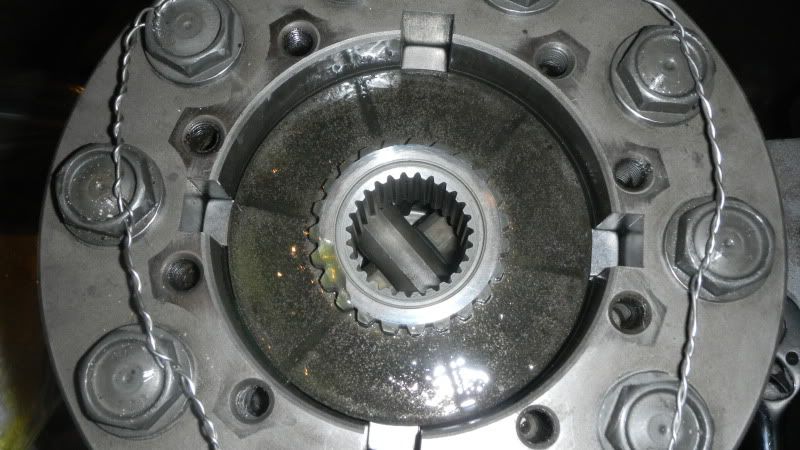
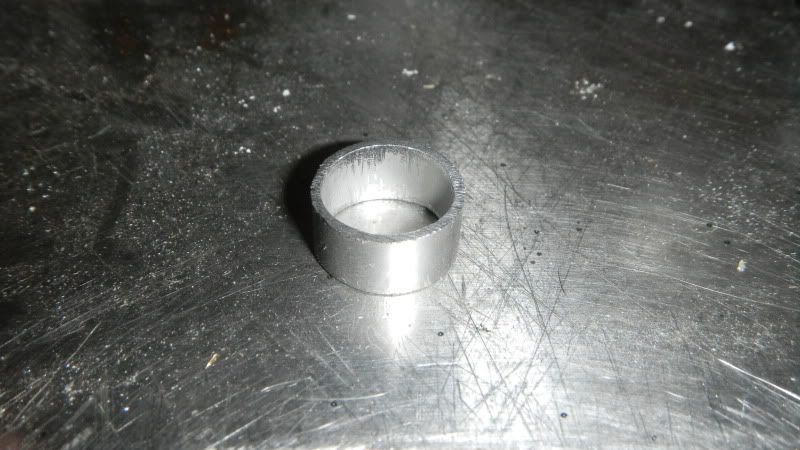
used 14mm precision tube to make bolt spacers for fitting the m12 bolt crown to the m14 bolt m3 cluster
Drilled and wire locked the lot to be sure they will all be staying put!
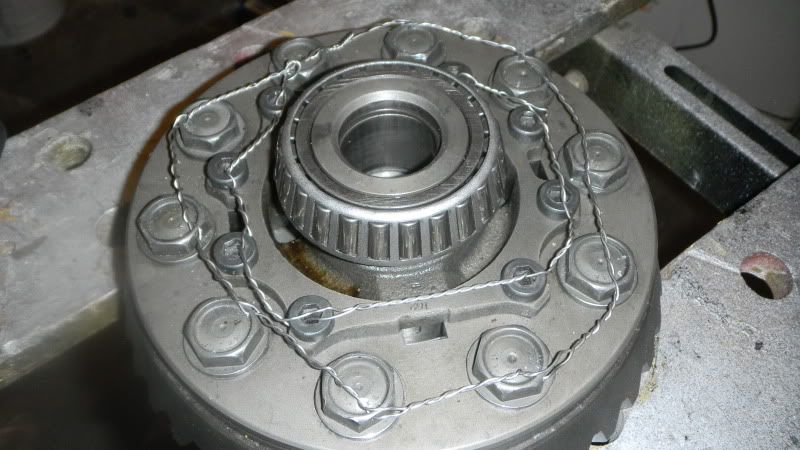
Also replaced all the seals in the diff to keep it good and oil tight and the cover bolts as the old ones were pretty rotten.
All together eventually!
Bit of time since the last update, but that doesn't mean that **** hasn't got done.
I have seam sealed and waxoiled the rear half of the under body (horrible job, not recommended) and fitted a good portion of the rear axle.
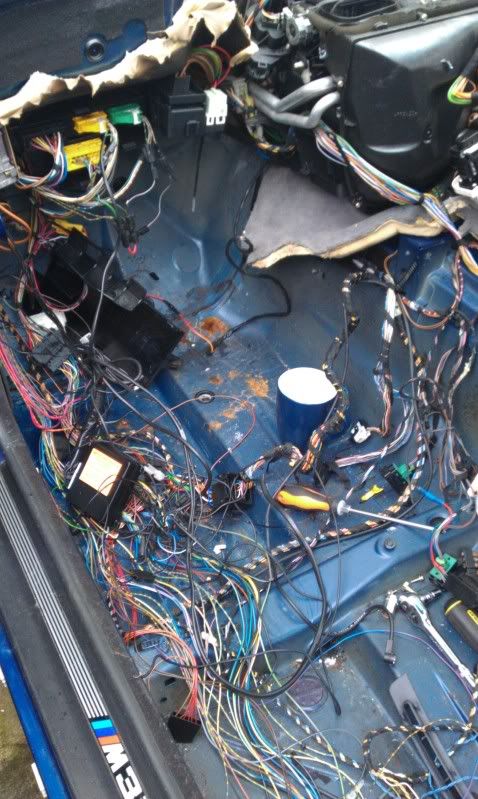
I also dived into the wiring with a pair of snips and a bin bag, this was not an unmitigated success.
Lessons learned:
1. ripping the entire loom apart in one go means that it will look like a cat has had an epileptic fit in a wool shop.
2. Test everything before you assume that all is well
3. If you have wired around the starter interrupt the car cranking mens **** all
4. Having a blazing hot curry the night before you sit in a small space means that your assistant will accuse you of having "ass aids"
Anyhoo.
Removing all the annoying alarm b*llocks
Removing all kinds of other b*llocks i decided i probably wouldn't need
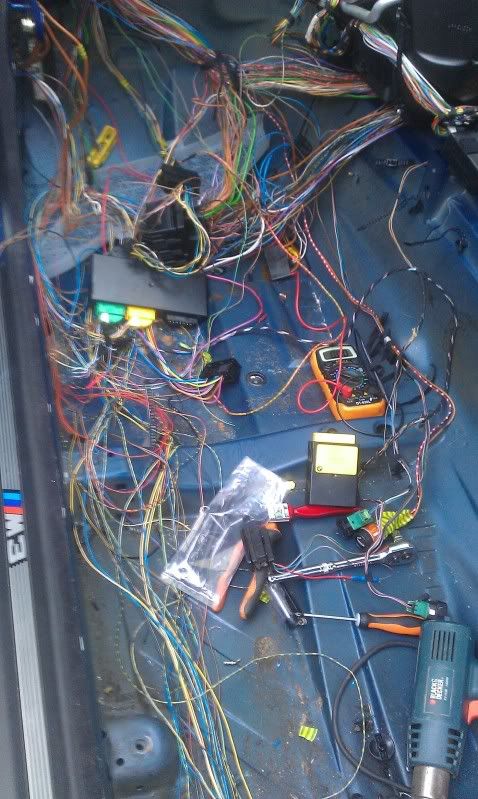
This left me with a car that wouldn't start, because due to the magic and witchcraft of EWSII the box had completely shat its self, this was solved by getting a non EWS chip for the dme (complete with some more aggressive fuel and ignition maps and a 7900 rpm limit) this restored the happy time of having a running engine.
Which more of less get me to this stage
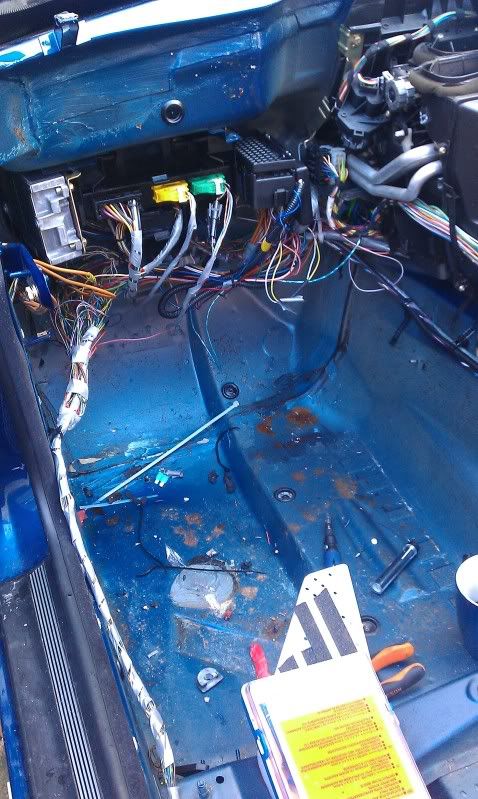
At this stage i fitted my diy flocked dash, which to be honest has come out ok, pics make it look a bit better than it is, but in all honesty i am fairly pleased with it.
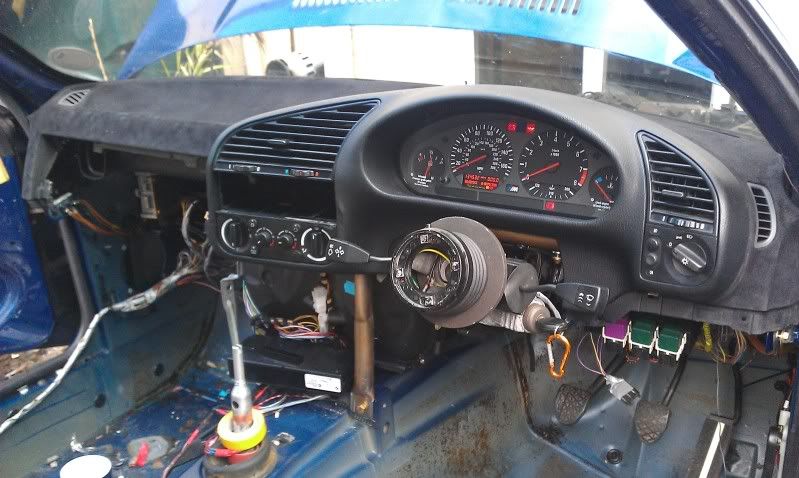
Looking to try and achieve this for about 3/4k so if i cant do it myself, it won't be getting done.